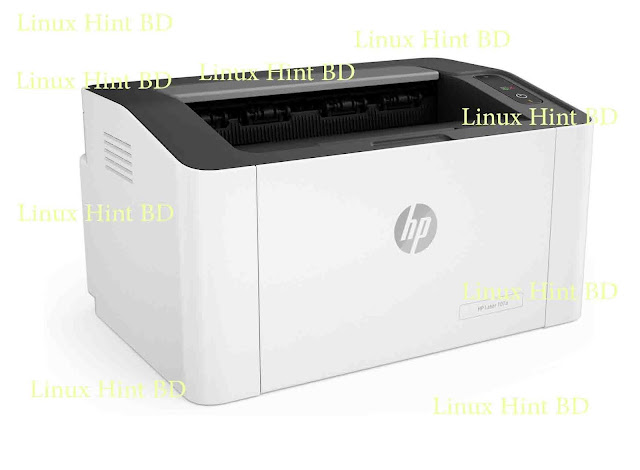
Using HP Laser 107a with Ubuntu 20.04
Using HP Laser 107a with Ubuntu 20.04, I recently bought a HP laser 107a as a budget printer on a laptop running Ubuntu 20.04. The reason I bought it was that, I read it was compatible with Linux.

When I received the printed, I tried following the tutorial Linux guide. So, I downloaded the uld driver from the hp site (at that point I found out that HP Laser 107a was basically a rebranded Samsung printer which used the uld driver). When I connected the printer to the laptop, although the printer was recognized I was unable to print. Initially, the "Printing Options" dialog was empty and upon closer inspection I realized that there was no PPD.
Then I came across the following ask ubuntu question which addresses 18.04 LTS and 19.04. I followed as closely as possible the instructions and I managed to select the proper driver (HP Laser 10x Series), either by selecting the database (initially), or by locating the PPD file in the /opt/ folder. In either case the result was the same:
- I managed to get the Printer Options filed
- I was not able to print. Whenever I sent something to the printer, I got the message that the job was submitted and the completed.
Upon closer inspection I realized that the URI of the printer was "file:///dev/null", which explains why everything was submitted. Also, whenever I opened the printer dialog from e.g. LibreOffice or a PDF viewer, and I was trying to select the printer, all I got was "Waiting for printer". I suspect this might be also be explained by the URI.
My next step, was to find out whether the printer was OK. Initially, I connected it to a Windows machine, and without no problems I got a test page.
The next step was to try another distribution. I tried Manjaro with a 5.4 kernel and followed a similar path with the tutorial Linux article, running Xcfe. I managed to get the test page without problems or hiccups also. I additionally checked the URI dialog from the CUPS client and saw that the URI was USB :/HP/ (i.e. not file:///dev/null)
I've also tried the Debugging Printing Problems page, with limited success, because I can't get lpinfo -v in my Ubuntu 20.04 installation to identify the printer (in Manjaro it was identified).
At this point, I am not sure if its a Ubuntu problem or if its something wrong with my setup from the upgrade or previous HP installations. I would appreciate any guidance on the matter.
Here's how I got my HP Laser 107a to work on my freshly installed Ubuntu 20.04.
Step 1: Remove ippusbxd as mentioned in the previous answer.
sudo apt purge ippusbxd
Step 2: Download and install the HP Laser 10x series drivers.
wget https://ftp.hp.com/pub/softlib/software13/printers/CLP150/uld-hp_V1.00.39.12_00.15.tar.gz
tar -xvf uld-hp_V1.00.39.12_00.15.tar.gz
cd uld/
sudo ./install.sh
Step 3: Open Settings and remove any existing instance if exists. Select Additional Printer Settings and click Add on the next screen.
Step 4: Select the HP Laser 103 107 108 option and click Forward. This will start searching for drivers. Wait for that to finish.
Step 5: On the next screen with Select printer from database checked select HP from the list and click Forward.
Step 6: Select the Laser 10x option and click Forward. On the next screen click Apply and it is done! You can print a test page from the next screen to verify the setup.
HP printer setup (USB cable)
- Set up your printer for a USB connection on a Windows computer, Mac, or Chromebook.
- Set up a USB printer connection (Windows)
- Download the HP Smart app, and then follow the instructions to set up a USB connection in Windows.
- If you already connected the printer USB cable to your computer, disconnect it, and then remove the printer from your computer.
- Search for and open Printers & scanners, and then select the name of your printer from the list. Click Remove device, click Yes, and then restart the computer.
- Make sure an open USB port is available on your computer. Do not connect the printer to a USB hub or docking station as the printer might not receive enough power to operate properly.
- Go to HP Smart - Microsoft Store and install the HP Smart app.
- Open the app, and then follow the guided installation to complete the setup. If the setup does not begin automatically, click the Plus sign to add your printer.
Set up a USB printer connection (Mac)
- Download the HP Smart app, and then follow the instructions to set up a USB connection in macOS.
- If you already connected the printer USB cable to your computer, disconnect it, and then remove the printer from your computer.
- Click the Apple icon , click System Preferences, and then click Printers & Scanners, Print and Scan, or Print and Fax. Select the name of your printer, click the Minus sign, and then restart the computer.
- Make sure an open USB port is available on your computer. Do not connect the printer to a USB hub or docking station as the printer might not receive enough power to operate properly.
- Go to HP Smart - Mac App Store and install the HP Smart app.
- Open the app, and then follow the guided installation to complete the setup. If the setup does not begin automatically, click the Plus sign to add your printer.
Set up a USB printer connection (Chromebook)
- Connect the USB cable, and then set up the USB connection in Chrome OS.
- Connect the printer USB cable to the computer.
- On the computer, click the clock in the bottom-right corner, and then click the Settings icon.
- Scroll down and select Advanced.
- Under Printing, click Printers, and then click Add Printer.
- If your printer displays, select it, and then click Add.
If your printer does not display, click Add Manually, and then follow the instructions. For more information, go to Chromebook Help - Set up your printer (in English).


