How to Launch an Ubuntu VM with SQL Server installed in Ubuntu 20.04
Launch an Ubuntu VM with SQL Server installed
Find the correct image to launch on the Azure portal
-
Sign in to the Azure portal. https://portal.azure.com/
-
In the left pane, select Create a resource.
-
In the search box, type “SQL 2019 on Ubuntu Pro”, and submit the search.
-
Select thew image by the name “SQL 2019 on Ubuntu Pro 20.04 LTS with 24x7 Support”.
-
Select Create on the appropriate image from the list.

Launch the VM
-
Select your Subscription and Resource Group.
-
In Virtual machine name, enter a name for your new VM.
-
Then, type or select the following values:
a. Region: Select the Azure region that’s right for you.
b. Availability options: Choose the availability and redundancy option that’s best for your apps and data.
c. Change size: Select this option to pick a machine size and when done, choose Select., please note that there are some recommended sizes.
d . Authentication type: Select SSH public key.
e. SSH public key: Enter your RSA public key.
f. Public inbound ports: Choose Allow selected ports and pick the SSH (22) port in the Select public inbound ports list. In this tutorial, this step is necessary to connect and complete the SQL Server configuration. If you want to remotely connect to SQL Server, you will need to manually allow traffic to the default port (1433) used by Microsoft SQL Server for connections over the Internet after the virtual machine is created. -
Make any changes you want to the settings in the following additional steps or keep the default settings.
a. Disks
b. Networking
c. Management
d. Guest config
e. Tags -
Select Review + create.
-
In the Review + create pane, select Create.
-
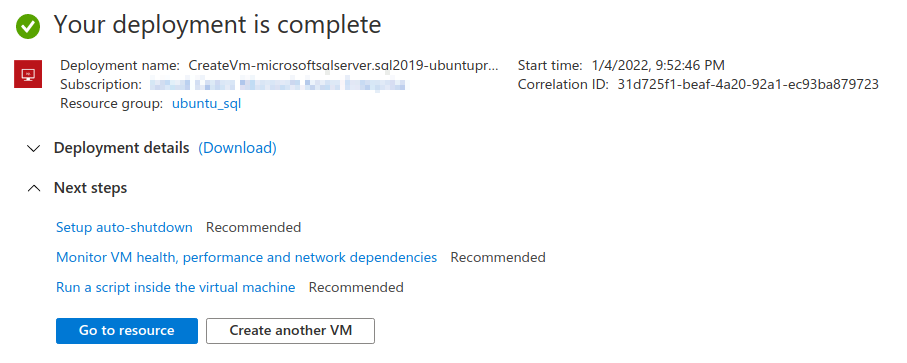
After few minutes you should see a confirmation like this:

Config and connect
Connect to the VM
-
Find the IP address of your VM in the portal, Overview section.
-
Connect to the Azure VM using the ssh command. In the following command, replace the VM user name and IP address to connect to your Linux VM.
ssh azureuser@20.55.55.555
Change the SA password
The new virtual machine installs SQL Server with a random SA password. Reset this password before you connect to SQL Server with the SA login.
-
Change the SA password with the following commands:
sudo systemctl stop mssql-server
sudo /opt/mssql/bin/mssql-conf set-sa-password -
Enter a new SA password and password confirmation when prompted.
-
Restart the SQL Server service.
sudo systemctl start mssql-server
Add the tools to your path (optional)
Several SQL Server packages are installed by default, including the SQL Server command-line Tools package. The tools package contains the sqlcmd and bcp tools. For convenience, you can add the tools path, /opt/mssql-tools/bin/, to your PATH environment variable.
- Run the following commands to modify the PATH for both login sessions and interactive/non-login sessions:
echo 'export PATH="$PATH:/opt/mssql-tools/bin"' >> ~/.bash_profile
echo 'export PATH="$PATH:/opt/mssql-tools/bin"' >> ~/.bashrc
source ~/.bashrc
Configure for remote connections
In order to remotely connect to SQL Server on the Azure VM, you must configure an inbound rule on the network security group. The rule allows traffic on the port on which SQL Server listens (default of 1433)
-
In the portal, select Virtual machines, and then select your SQL Server VM.
-
In the left navigation pane, under Settings, select Networking.
-
In the Networking window, select Add inbound port under Inbound Port Rules.
-
In the Service list, select MS SQL.
-
Click OK to save the rule for your VM.

Open the firewall
If you want to connect remotely to VMs, you also have to open up port 1433 on the Linux firewall.
- Connect to your VM.
- In the BASH shell, run the following command:
sudo ufw allow 1433/tcp
Connect
You can now connect to your server from your favorite client

-