
Choose the right edition
You can download Linux Mint from the Linux Mint website.
Read below to choose which edition and architecture are right for you.
Cinnamon, MATE or Xfce?
Linux Mint comes in 3 different flavours, each featuring a different desktop environment.
| Cinnamon | The most modern, innovative and full-featured desktop |
| MATE | A more traditional, and faster desktop |
| Xfce | The most lightweight desktop |
The most popular version of Linux Mint is the Cinnamon edition. Cinnamon is primarily developed for and by Linux Mint. It is slick, beautiful, and full of new features.
Cinnamon
Linux Mint is also involved in the development of MATE, a classic desktop environment which is the continuation of GNOME 2, Linux Mint’s default desktop between 2006 and 2011. Although it misses a few features and its development is slower than Cinnamon’s, MATE uses less resources and can run faster on older computers.
MATE
Xfce is a lightweight desktop environment. It doesn’t support as many features as Cinnamon or MATE, but it’s extremely stable and very light on resource usage.
Xfce
Of course, all three desktops are great and Linux Mint is extremely proud of each edition. Although there are more features and better support in some editions than others, and some do run faster and use less resources than others, they’re all great alternatives and choosing the right edition is largely a matter of taste.
Other than their features and performance, Cinnamon, MATE and Xfce also represent three different desktop environments, with different menus, different panels and configuration tools. The right one for you is the one where you feel at home.
If you are unsure which desktop to choose start with the Cinnamon edition. Try them all eventually when you have the time. All three of them have their own audience within the Linux Mint community and they’re all very popular.
32-bit or 64-bit?
From version 20 onward, only 64-bit is available.
The 32-bit ISO images on prior versions are provided for compatibility with older computers. 32-bit processors are extremely rare nowadays and most computers are able to run in 64-bit. If your computer was manufactured after 2007, you probably have a 64-bit processor.
If you have an old computer and you are unsure whether or not it can run in 64-bit, read X86 Chronology.
Tip
You can try to boot Linux Mint 64-bit on your computer. If it isn’t compatible, nothing bad will happen. You will just get an error message.
Note
If you cannot boot or install Linux Mint because your hardware is too recent and is not properly detected see the Edge ISO Images chapter in the Linux Mint User Guide for an alternative ISO.
Verify your ISO image
It is important to verify the integrity and authenticity of your ISO image.
The integrity check confirms that your ISO image was properly downloaded and that your local file is an exact copy of the file present on the download servers. An error during the download could result in a corrupted file and trigger random issues during the installation.
The authenticity check confirms that the ISO image you downloaded was signed by Linux Mint, and thus that it isn’t a modified or malicious copy made by somebody else.
Download the SHA256 sums provided by Linux Mint
All download mirrors provide the ISO images, a sha256sum.txt file and a sha256sum.txt.gpg file. You should be able to find these files in the same place you downloaded the ISO image from.
If you can’t find them, browse the Heanet download mirror and click the version of the Linux Mint release you downloaded.
Download both sha256sum.txt and sha256sum.txt.gpg.
Do not copy their content, use “right-click->Save Link As…” to download the files themselves and do not modify them in any way.
Integrity check
To check the integrity of your local ISO file, generate its SHA256 sum and compare it with the sum present in sha256sum.txt.
sha256sum -b yourfile.iso
Hint
If you are using Windows follow the tutorial How to verify the ISO image on Windows.
If the sums match, your ISO image was successfully downloaded. If they don’t, download it again.
Authenticity check
To verify the authenticity of sha256sum.txt, check the signature of sha256sum.txt.gpg by following the steps below.
Import the Linux Mint signing key:
gpg --keyserver hkp://keyserver.ubuntu.com:80 --recv-key "27DE B156 44C6 B3CF 3BD7 D291 300F 846B A25B AE09"
Note
If gpg complains about the key ID, try the following commands instead:
gpg --keyserver hkp://keyserver.ubuntu.com:80 --recv-key A25BAE09
gpg --list-key --with-fingerprint A25BAE09
Check the output of the last command, to make sure the fingerprint is 27DE B156 44C6 B3CF
3BD7 D291 300F 846B A25B AE09 (with or without spaces).
Verify the authenticity of sha256sum.txt:
gpg --verify sha256sum.txt.gpg sha256sum.txt
The output of the last command should tell you that the file signature is good and that it was signed with the A25BAE09 key.
Note
GPG might warn you that the Linux Mint signature is not trusted by your computer. This is expected and perfectly normal.
Hint
For more information on ISO verification, or to verify BETA, LMDE or old releases, read How to Verify ISO images.
Create the bootable media
The easiest way to install Linux Mint is with a USB stick.
If you cannot boot from USB, you can use a blank DVD.
How to make a bootable USB stick
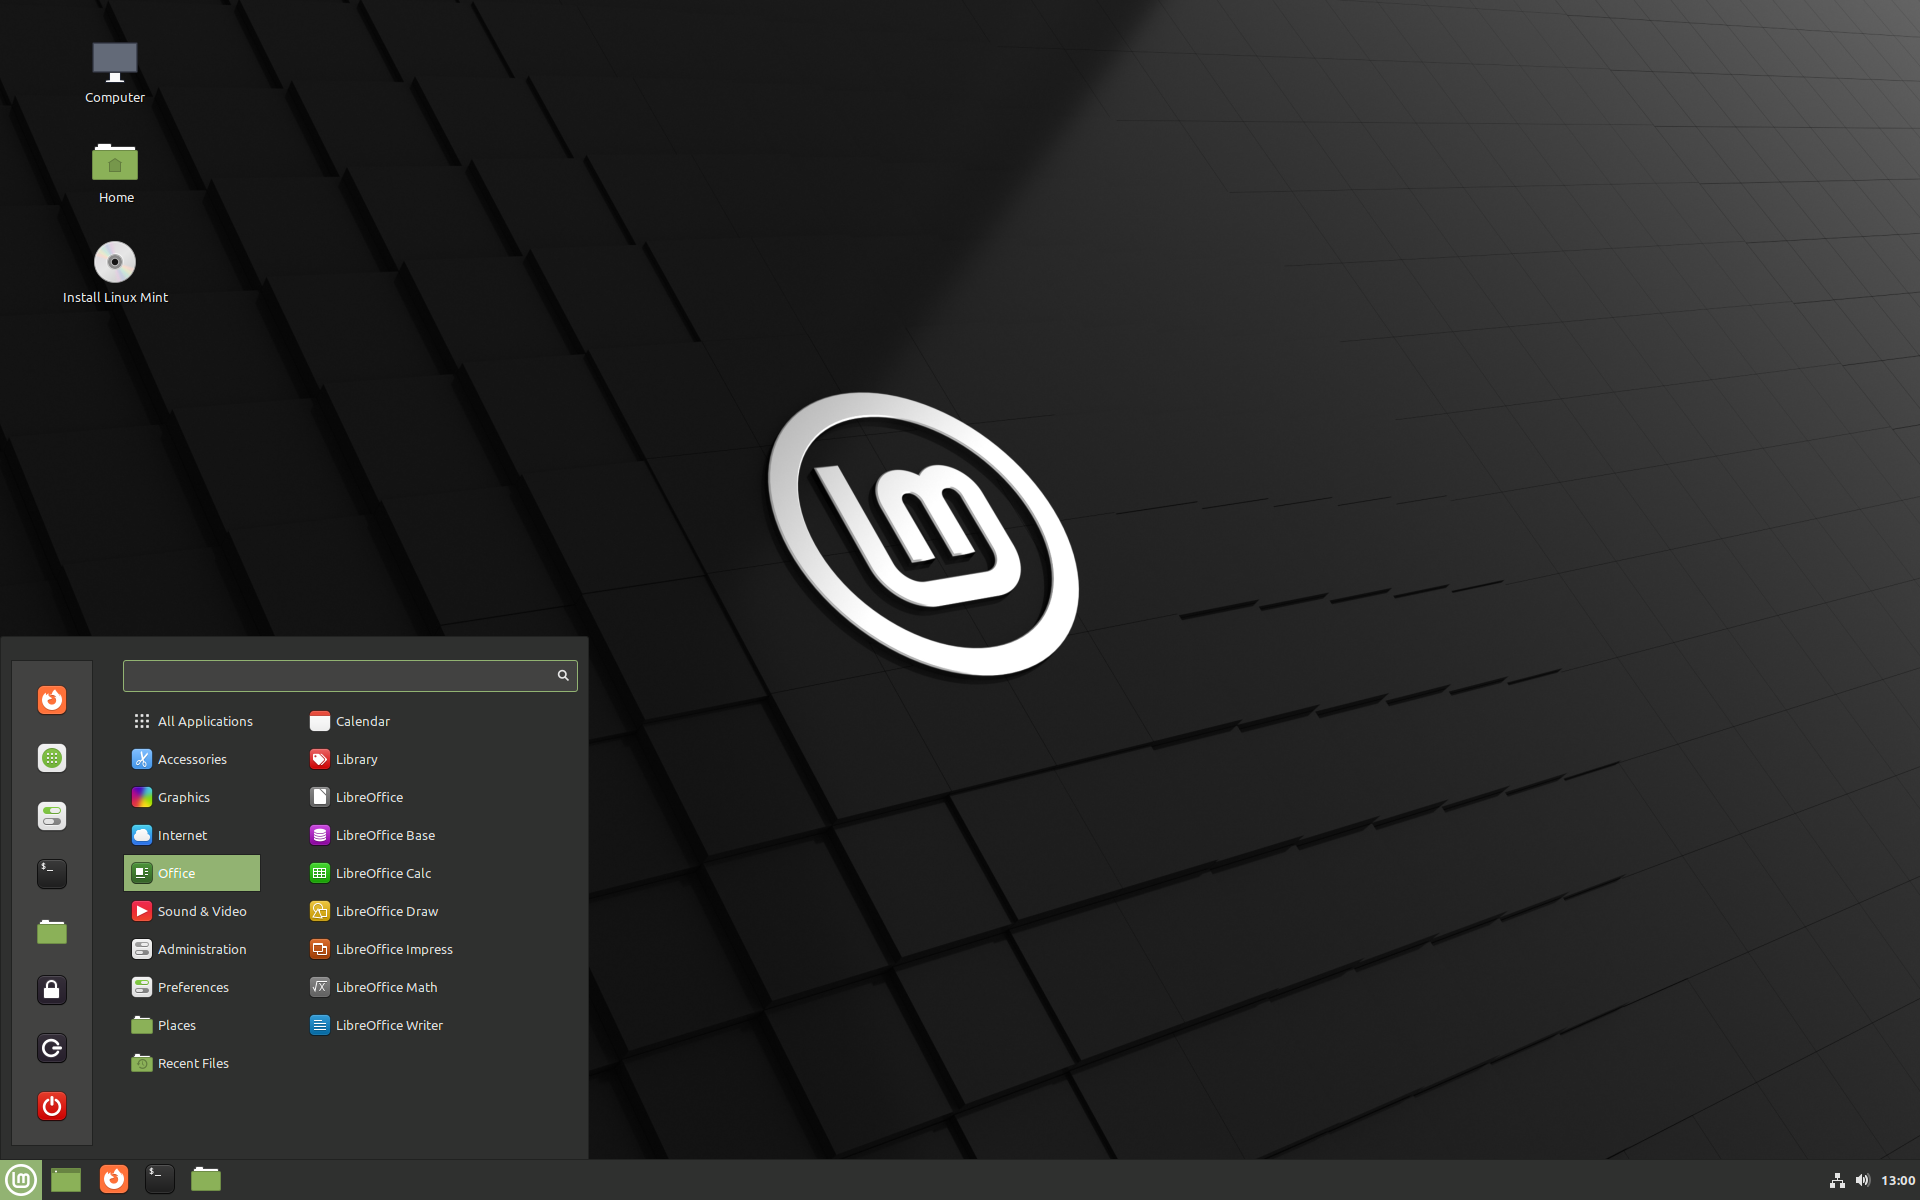
In Linux Mint
Right-click the ISO file and select , or launch .
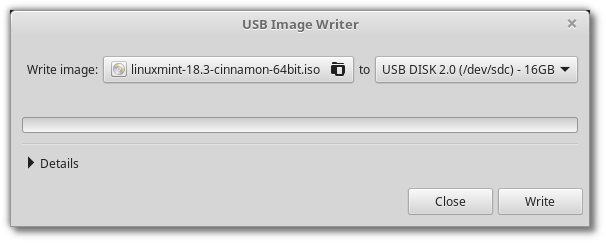
Select your USB device and click Write.
In Windows, Mac OS, or other Linux distributions
Download Etcher, install it and run it.
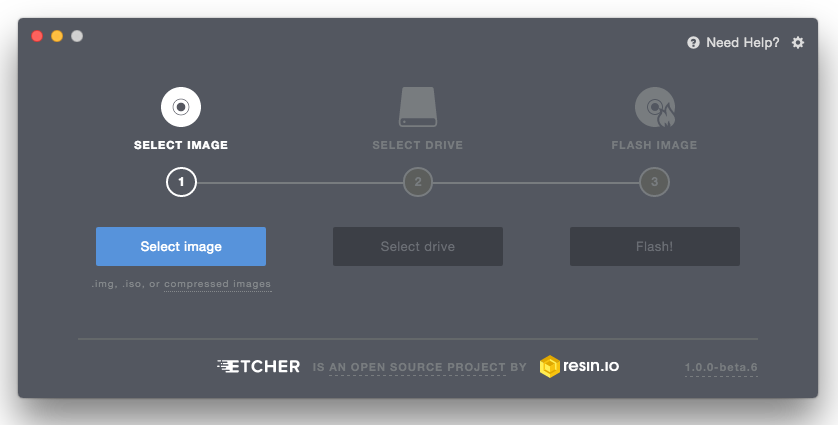
Using Etcher
Click Select image and select your ISO file.
Click Select drive and select your USB stick.
Click Flash!.
How to make a bootable DVD
Optical discs are slow and burning to disc is prone to errors.
Note
To prevent issues, burn at the lowest possible speed.
Warning
Burn the content of the ISO onto the DVD, not the ISO file itself. When finished, your DVD should contain directories such as boot and casper, it shouldn’t be an empty DVD containing an .iso file.
In Windows
Right-click the ISO file and select .
To make sure the ISO was burned without any errors, select .
In Mac OS
Right-click the ISO file and select .
Boot Linux Mint
Now that you have Linux Mint on a USB stick (or DVD) boot the computer from it.
- Insert your USB stick (or DVD) into the computer.
- Restart the computer.
- Before your computer boots your current operating system (Windows, Mac, Linux) you should see your BIOS loading screen. Check the screen or your computer’s documentation to know which key to press and instruct your computer to boot on USB (or DVD).
Note
Most BIOS have a special key you can press to select the boot device and all of them have a special key to enter the BIOS configuration screen (from which you can define the boot order). Depending on the BIOS, these special keys can be Escape, F1, F2, F8, F10, F11, F12, or Delete. That information is usually briefly written on the screen during the boot sequence.
Hint
On Macs, keep your finger pressed on the Alt or Option key after hearing the boot sound.
- The Linux Mint ISO can be booted both in EFI or BIOS mode. In EFI mode it shows a grub menu. In BIOS mode it shows an isolinux menu.
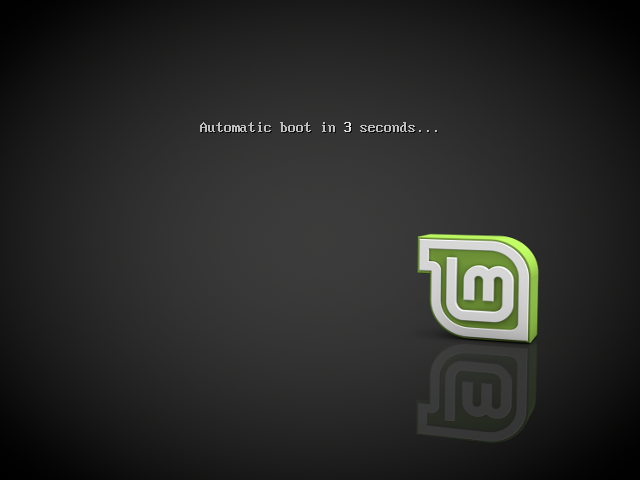
The isolinux menu in BIOS mode
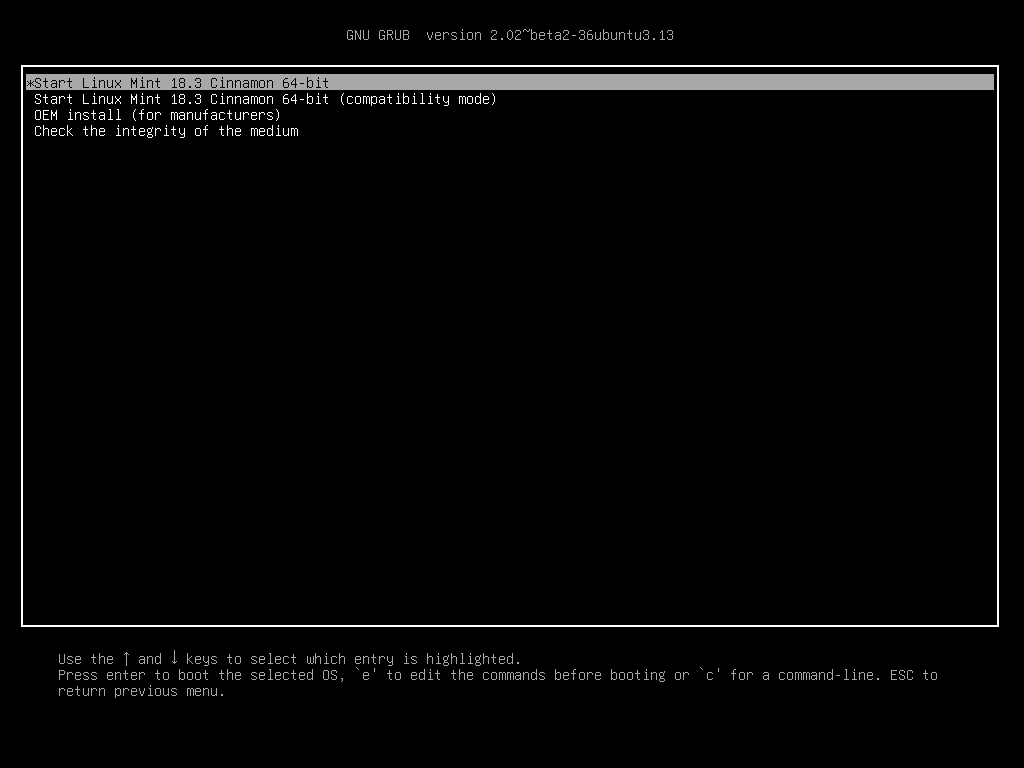
The grub menu in EFI mode
- From one of these menu, press Enter to start Linux Mint from your USB stick (or DVD).
Install Linux Mint
The live session
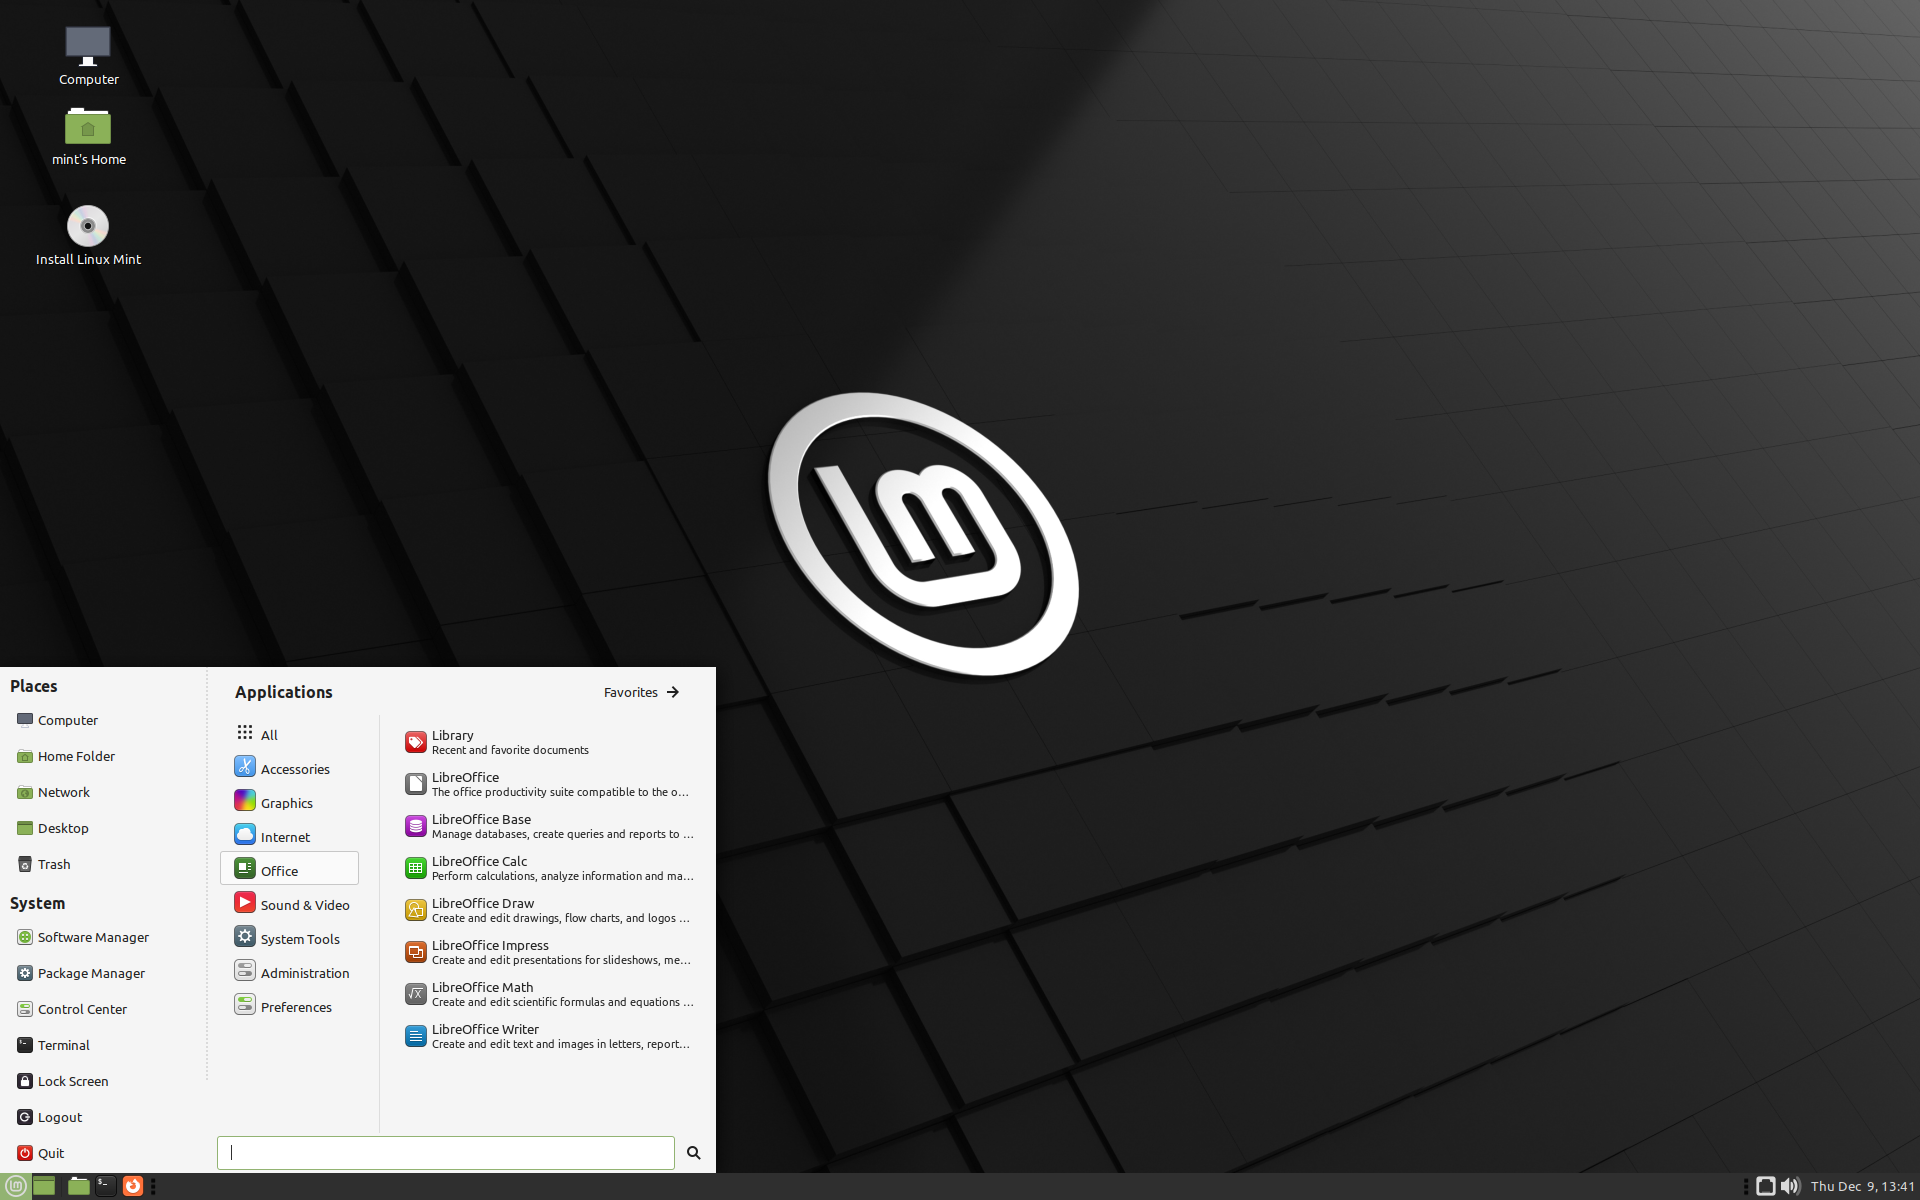
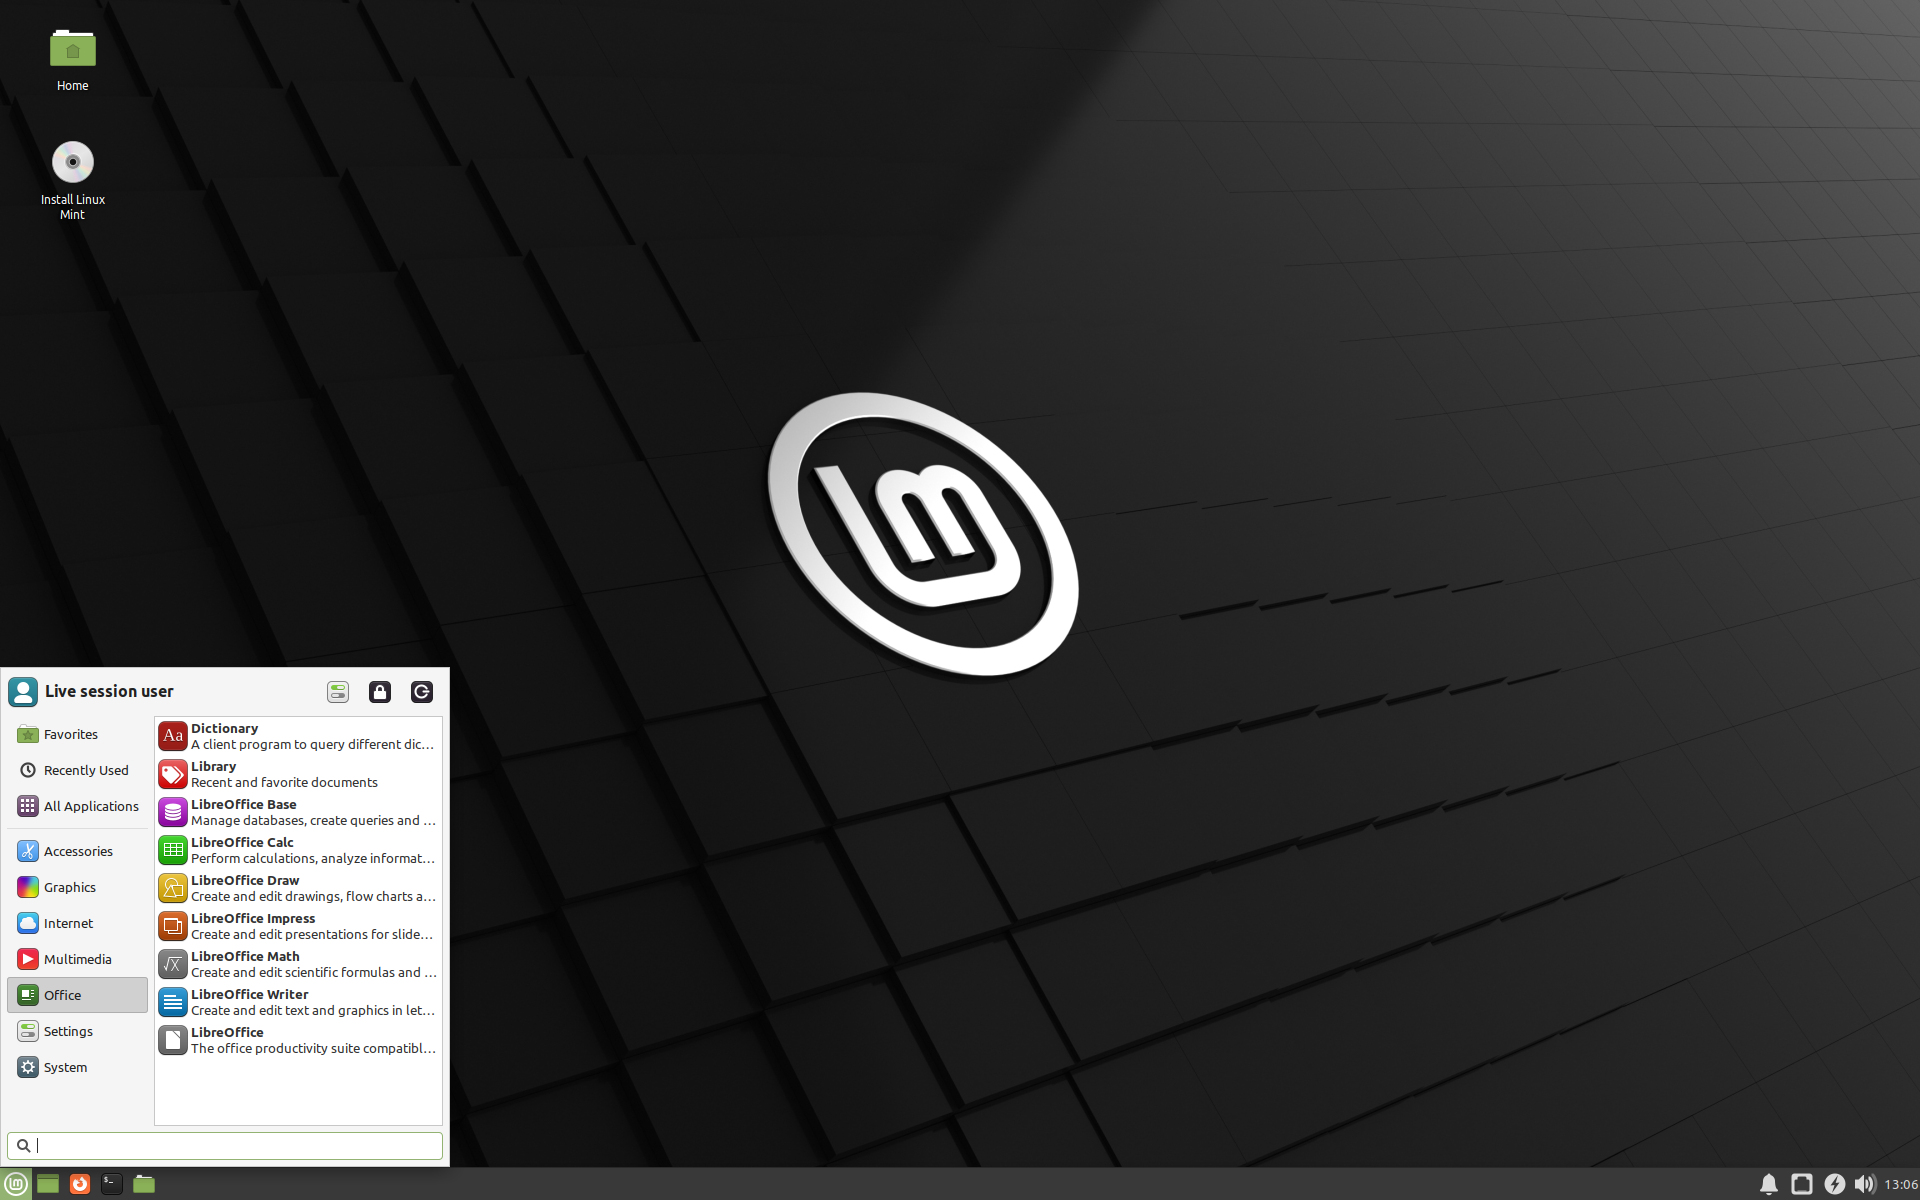
When you boot the computer from the USB stick (or DVD), Linux Mint starts a live session. It logs you in automatically as a user called mint and shows you a desktop with the installer on it:
The Linux Mint live session
The live session
is similar to a normal session (i.e. to Linux Mint once it is
permanently installed on the computer), but with the following
exceptions:
- The Live session is slower (it is loaded from a USB stick or DVD as opposed to a SSD or HDD).
- Changes you make in the live session are not permanent. They are not written to the USB stick (or DVD) and they do not impact the system installed by the installer.
- Some applications work differently (or not at all) in the live session (Timeshift, Flatpak, Update Manager, Welcome Screen..etc.).
Hint
The username for the live session is mint. If asked for a password press Enter.
Installing Linux Mint on the computer
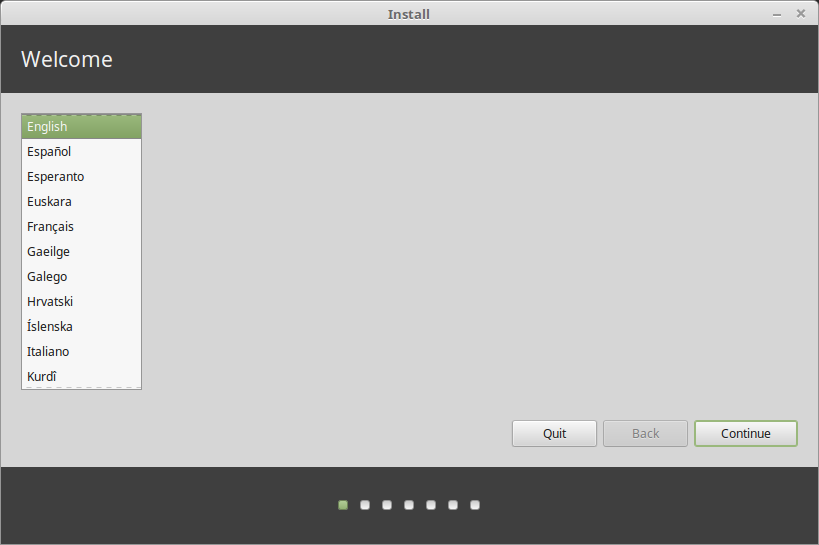
To permanently install Linux Mint on your computer:
- Double-click Install Linux Mint.
- Select your language.
- Connect to the Internet.
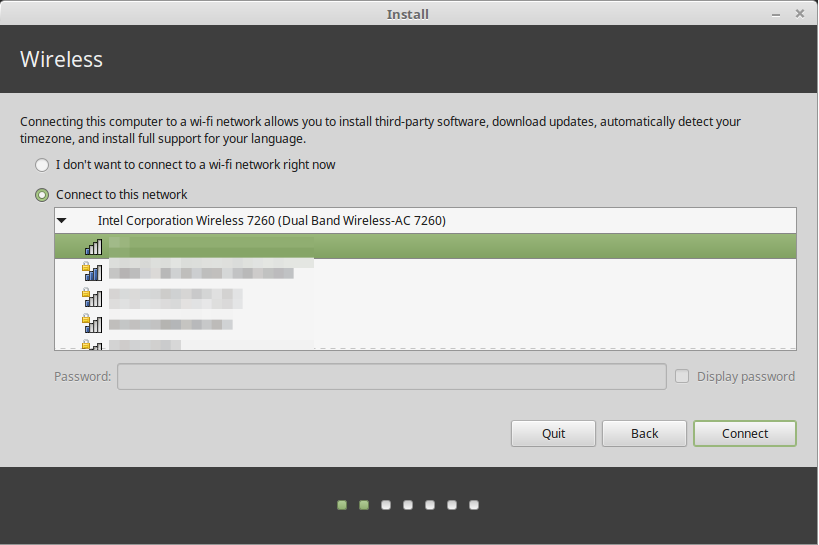
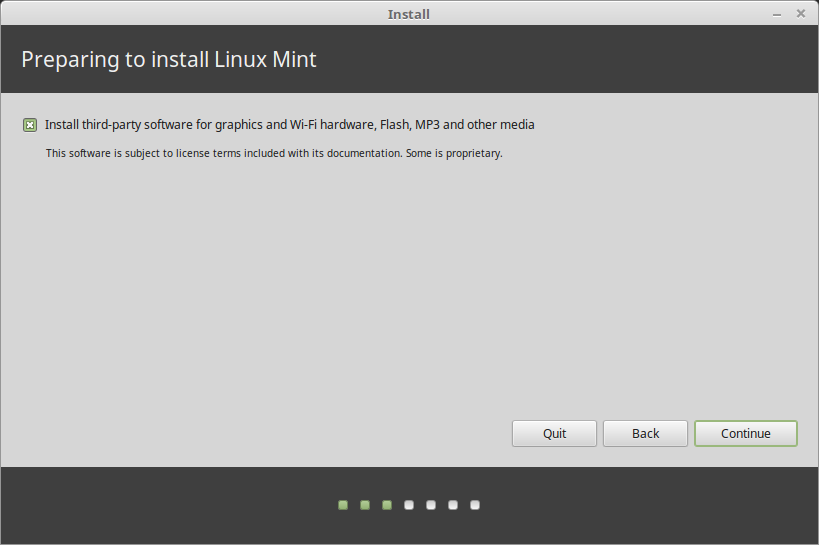
- If you are connected to the Internet, tick the box to install the multimedia codecs.
- Choose an installation type.
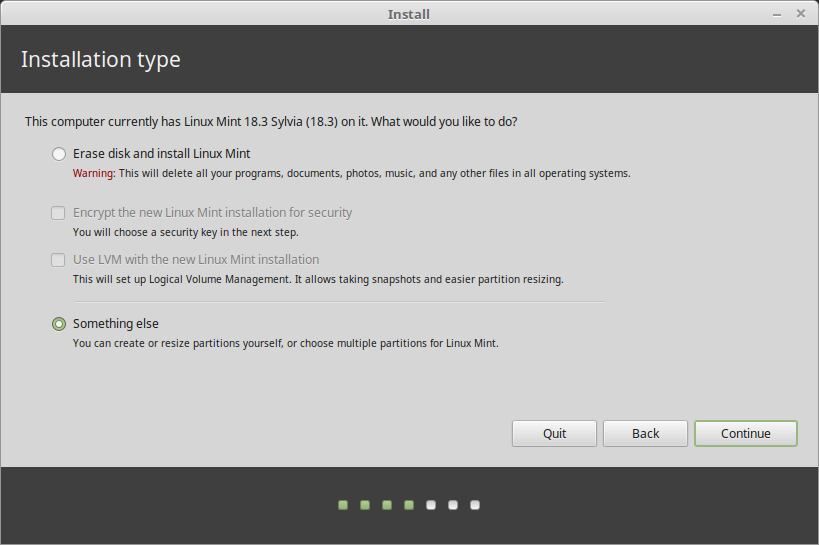
If Linux Mint is the only operating system you want to run on this computer and all data can be lost on the hard drive, choose Erase disk and install Linux Mint.
Warning
Encrypt the new Linux Mint installation for security refers to full disk encryption. At this stage of the installation your keyboard layout wasn’t yet selected so it is set to en_US. If you decide to use this option, keep this in mind when entering a password. Note that there are issues with this option and some NVIDIA drivers. If you are new to Linux use home directory encryption instead (you can select it later during the installation).
If another operating system is present on the computer, the installer shows you an option to install Linux Mint alongside it. If you choose this option, the installer automatically resizes your existing operating system, makes room and installs Linux Mint beside it. A boot menu is set up to choose between the two operating systems each time you start your computer.
Note
If you want to manage the partitions or specify which partitions to use, select Something else.
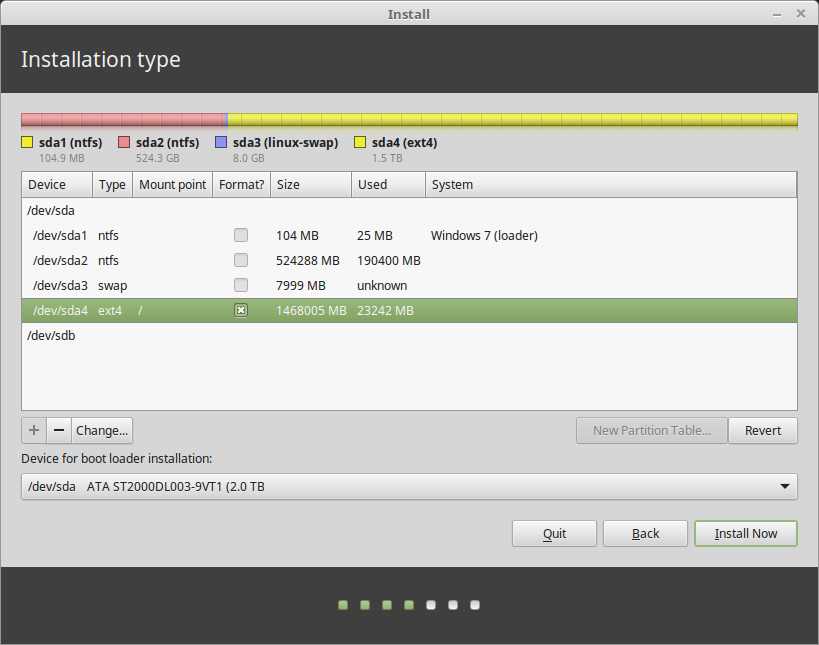
Linux Mint requires one partition to be mounted on the root / directory.
The Linux Mint operating system (without additional software or personal data) takes roughly 15GB, so give this partition a decent size (100GB or more).
ext4 is recommended. It is the most popular Linux filesystem.
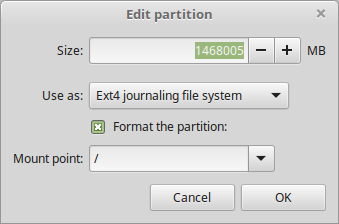
Also create a swap
partition. This partition is used for hibernation and as a safety
buffer in case your computer runs out of RAM. Give this partition a size
equal to the amount of RAM in your computer.
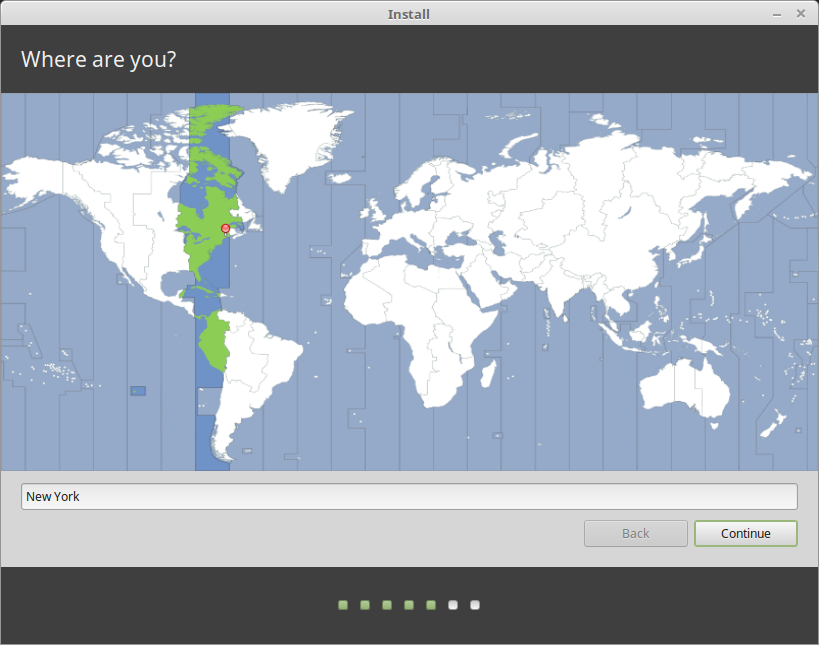
- Select your timezone
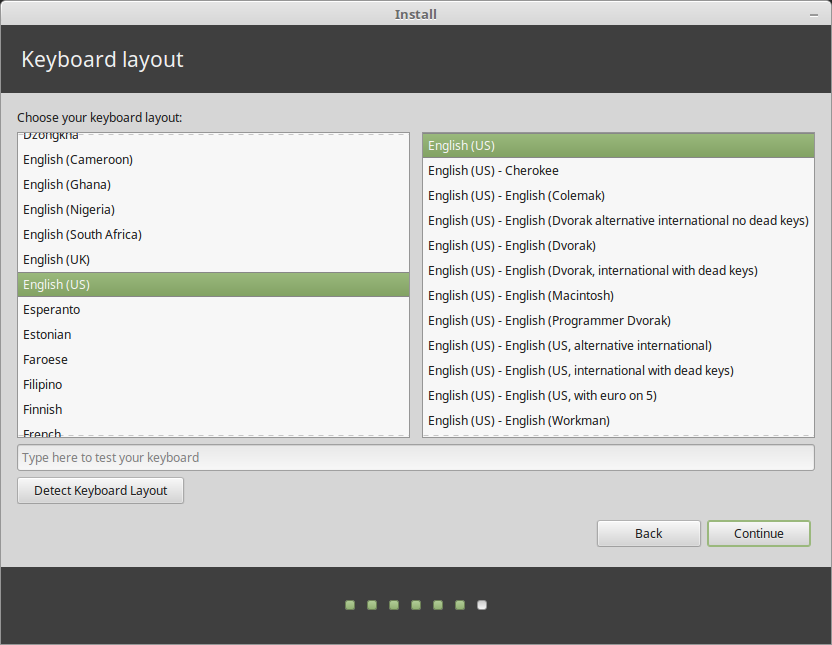
- Select your keyboard layout
- Enter your user details
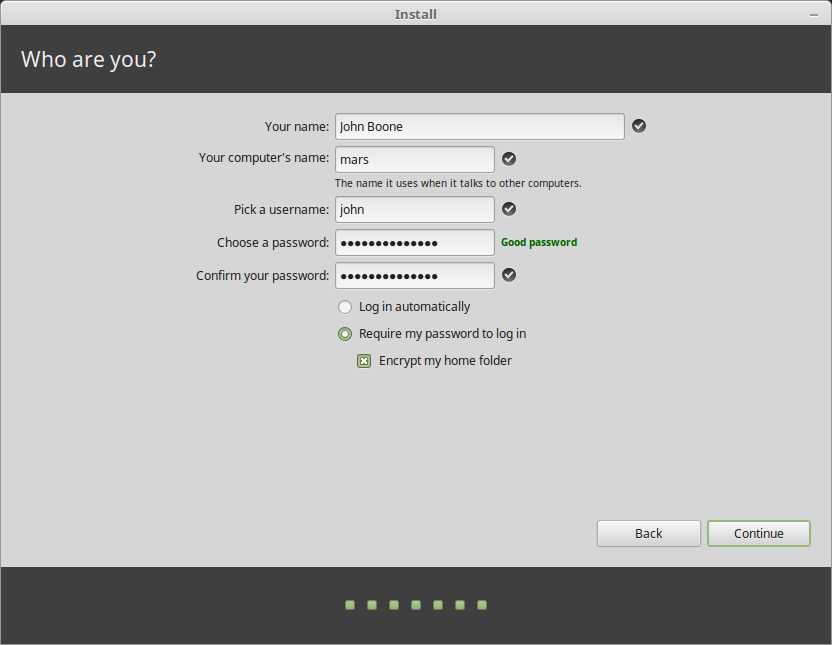
Your name can be your real name, but it doesn’t have to be. It is only used locally, in the screensaver and on the login screen.
Your username is what you log in as, and your hostname is the name of your computer on the network.
To prevent bugs only use lowercase characters, with no punctuation or accentuation.
To protect your personal data against local attacks (people around you, or in case your computer gets stolen), tick Encrypt my home folder.
Choose a strong password.
- Enjoy the slideshow while Linux Mint is installed on your computer.
When the installation is finished, click Restart Now.

The computer will then start to shut down and ask you to remove the USB disk (or DVD). Upon reboot, your computer should show you a boot menu or start your newly installed Linux Mint operating system.


