Flameshot Screenshot Tool Just Added Even More Features
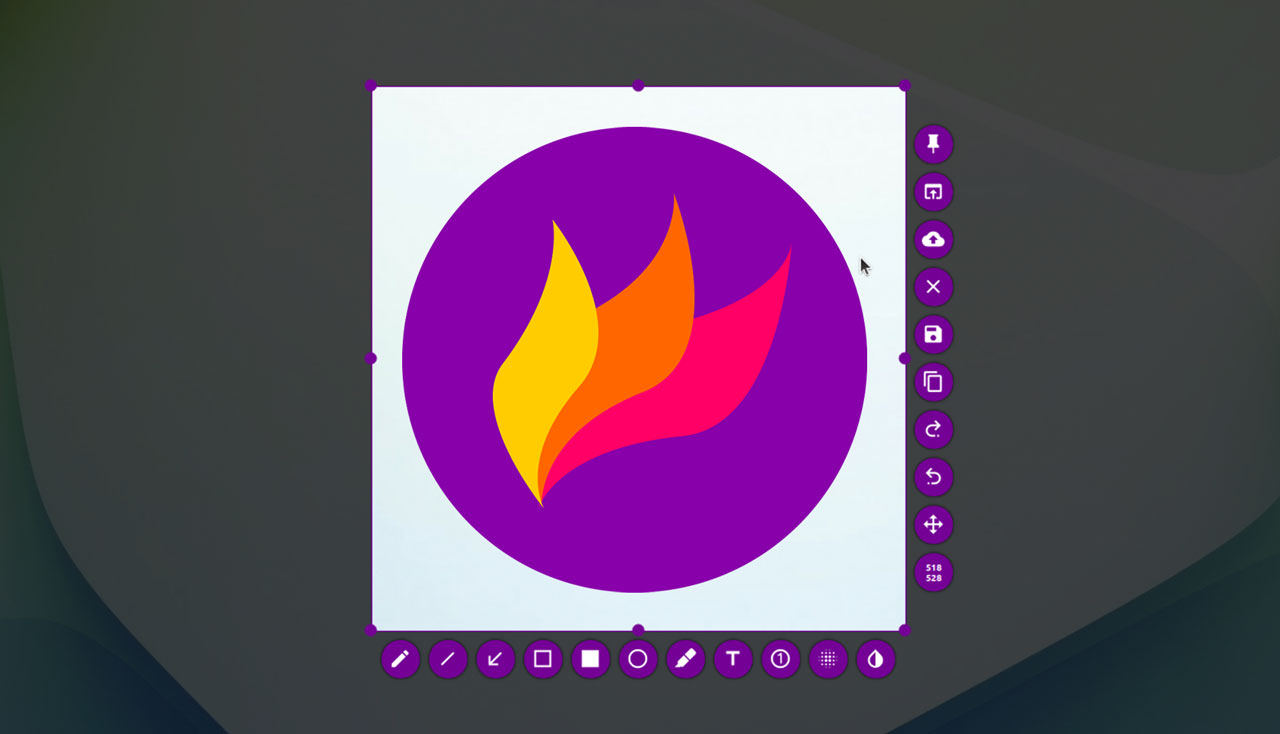
When it comes to Linux screenshot tools nothing comes close to Flameshot.
It’s quite the statement to make, I know. But this Qt-based screen-snipping utility richly earns its place on our list of the best Ubuntu apps because it is that good.
Today, a new version of Flameshot arrived that adds even more features to its already feature-crammed toolset.
In this post I tell you a bit more about what’s new, and point you in the direction of official downloads so you can try it for yourself, regardless of what Linux distribution or packaging perforce you have.
What’s New in Flameshot 12.0?
Flameshot already does pretty much everything anyone might need. It lets you take screen grabs (whole screen or partial) and effortlessly add markup, annotations, shapes, callouts, text, markers, obfuscate portions… You name it!
Making this marvellous menagerie of markup tools even richer, the latest version of Flameshot introduces basic layer movement. Each new annotation (e.g., arrow, shape, text, etc) gets added as a new layer. You can now these layers up/down from other layers, much like layers in GIMP or Pinta, so everything stacks as you want it.
To help you grab the most precise screen grabs Flameshot 12.0 comes with a new magnifier tool. This shows a square or circular close-up of the area directly under your system’s pointer. It’s not turned on by default so to use it head to Configuration > General and check the ‘Show Magnifier’ option.
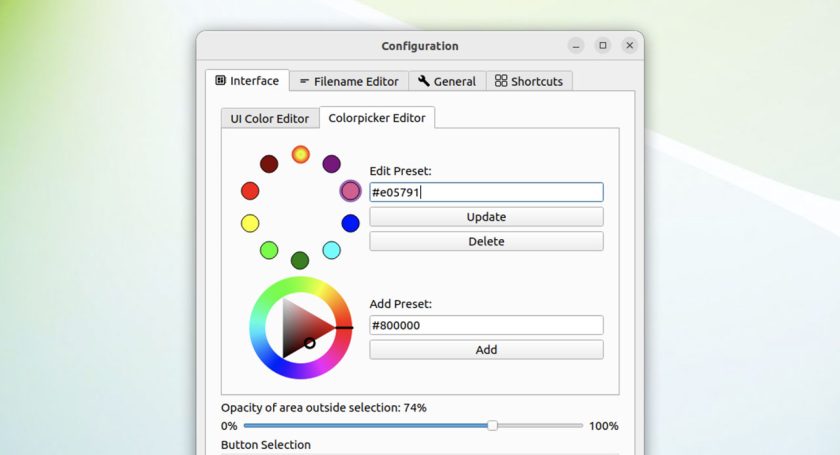
Colour is a great way to add variance within an annotated screenshot, and Flameshot’s handy colour wheel picker is ideal for quickly switching between colours without opening the Tool Settings panel. Well, in Flameshot 12.0 you can customise the colours that appear in the picker, which is handy.
Are you a fan of adding incremental markers too screenshots? If so, you can now drag them them out when placing to point at a specific portion of your screen snap.
Other new features include the ability to ‘cache the last region’ (this makes it easier to take multiple screenshots of the same area, consecutively), and there are various improvements to pinned screenshots, including the ability to quickly copy them to the clipboard or save them as a file.
If you make heavy use of Flameshot’s Imgur integration you are encouraged to add your own Imgur API key as, with the app being popular, the default API key is often exceeding the allowed upload limit.
And there are a ton of bug fixes and performance improvements included too – they’re just harder to take pretty screenshots off for posts like this!
Wayland Notes
Using this tool (indeed any screenshot that isn’t the native one) on Ubuntu 22.04 LTS Wayland session isn’t quite as seamless as on Xorg.
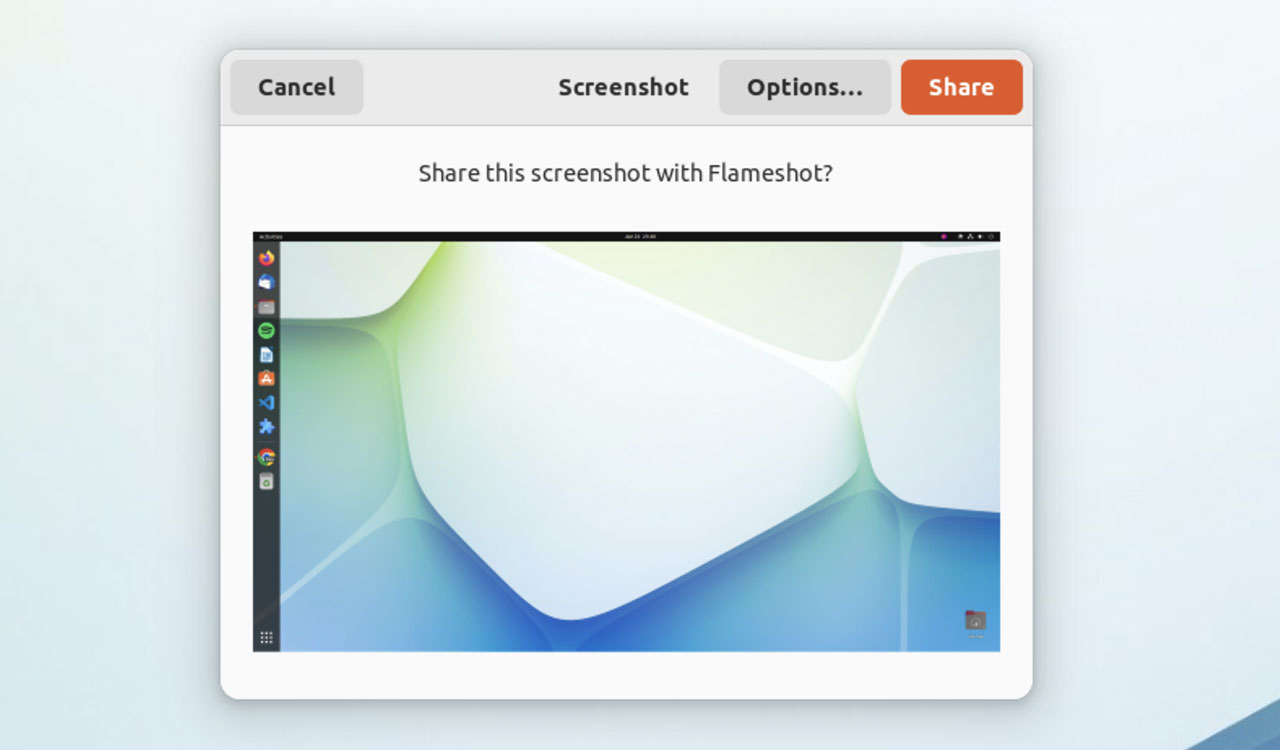
When you “take a screenshot” with Flameshot using a keyboard shortcut or the tray menu item a screenshot is taken immediately. But you’ll then be asked if you want to “share this screenshot with Flameshot”. You can click the “options” to access screen delay, show pointer, etc.
Okaying a screen grab then lets you snip-in, annotate, etc as normal. Does this add friction not found when using GNOME 42’s built-in screenshot feature under Wayland? Yes, but it’s about as elegant as it can be — still, something to be aware of if you previously used this tool in a Xorg session.
Download Flameshot 12.0
Flameshot is free, open source software available for Windows (yes, Windows), macOS and Linux.
You can download Flameshot 12.0 from the project GitHub release page where manner of package choices are available including Snap, Flatpak, AppImage, and a good ol’ fashioned .deb installer for various ‘Buntus (which is what I used when testing it for this post).
You can install an older version of Flameshot straight from the Ubuntu repos if you’re less bothered about the latest features and don’t want to get extra-curricular in how you get it.

