
How to Download and Install RHEL 9
Red Hat Enterprise Linux 9 (RHEL 9), code-named Plow, is now generally available (GA). Red Hat made the announcement on the 18th of May 2022. It takes over from the Beta release which has been around since 3, November 2021.
RHEL 9 is a number of firsts in the Red Hat family. It is the first major release since the acquisition of Red Hat by IBM in July 2019, and the first major version since the deprecation of the CentOS Project in favor of CentOS Stream which is now the upstream of RHEL.
RHEL 9 is the latest major version of RHEL and comes with Kernel 5.14 and a host of new software packages and tons of enhancements. It places an emphasis on security, stability, flexibility, and reliability.
Key Highlights of RHEL 9
At a glance, here are the major highlights of RHEL 9.
New Software Versions
RHEL 9 ships with new versions of software including Python 3.9. Node.JS 16, GCC 11, Perl 5.32, Ruby 3.0, PHP 8.0, and many more.
Security Enhancements
With Red Hat Enterprise Linux 9, the OpenSSH configuration blocks remote login by the root user using password authentication. This prevents attackers from breaching the system using brute-force attacks.
In addition, SELinux policies have been improved to boost security. OpenSSL 3.0 introduces a provider concept, a new versioning scheme, and improved HTTPS. Built-in RHEL utilities have been recompiled to use OpenSSL 3.0 As a result, users can now benefit from the new security ciphers used for encryption.
Monitoring
The Red Hat Enterprise Linux 9 web console provides enhanced monitoring and performance metrics pages that help in identifying spikes in CPU, disk, memory, and bandwidth utilization. Furthermore, these metrics can be exported to the Grafana server for better visualization.
The web console now supports live kernel patching. You can apply the latest critical system patches without rebooting or interrupting services in the development or production environment.
Image Builder Tool
The image builder tool allows users to create custom RHEL system images in multiple formats both for minor and major releases. These images are compatible with major cloud providers such as AWS and GCP. This makes it possible to quickly spin up customized RHEL development environments on-premise and on cloud platforms.
In addition, you can also create bootable ISO installer images which are packaged in a tarball format. You can use these images to install RHEL on bare-metal servers or as a guest machine on top of a hypervisor such as VMware.
How to Download RHEL 9 for Free
The Red Hat Developer Subscription is a no-cost offering of the Red Hat Developer program that is tailored for individual developers who want to reap the full benefits of Red Hat Enterprise Linux.
It gives developers access to all versions of Red Hat Enterprise Linux among other Red Hat products such as add-ons, software updates, and security errata.
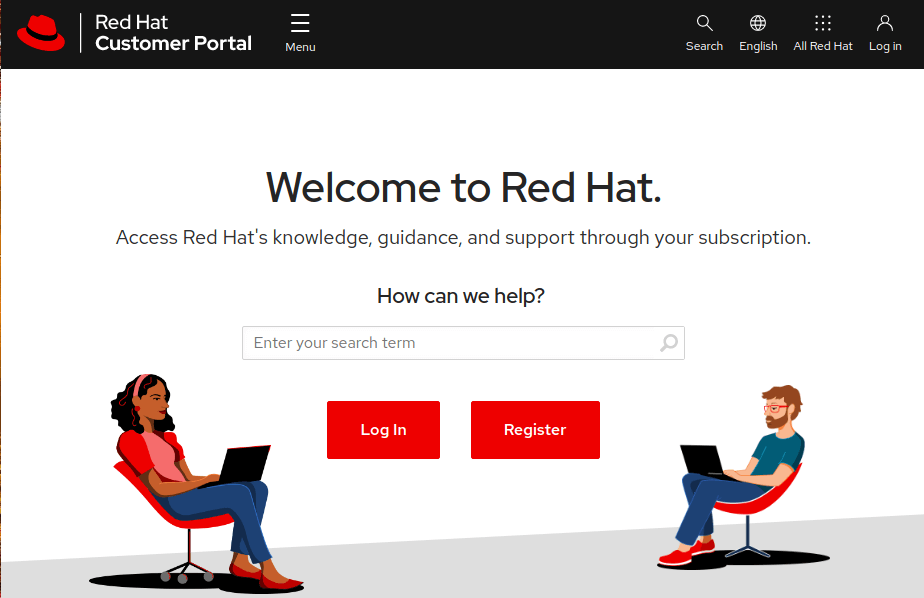
Before anything else, make sure that you have an active Red Hat account. If you don’t have an account yet, navigate to the Red Hat Customer Portal and click on the ‘Register’ button and fill in your details to create a Red Hat account.
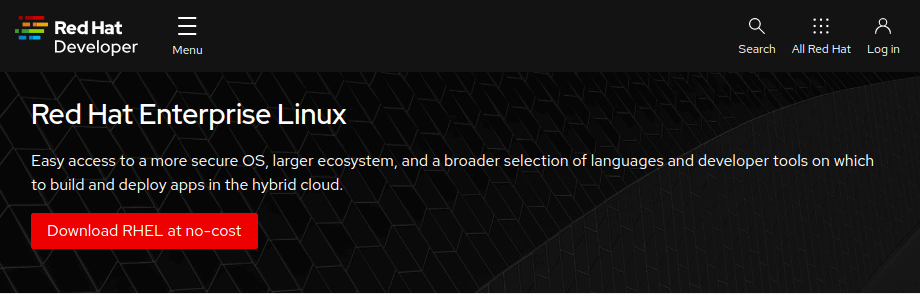
Once you have created a Red Hat account, you are all set to start downloading RHEL 9. To download Red Hat Enterprise Linux 9 at absolutely no cost, head over to the Red Hat Developer Portal and sign in using your account credentials.
Next, navigate to the RHEL 9 download page and click on the download button shown below.
Shortly after, the download of the RHEL 9 ISO image will begin. You should see a confirmation message informing you that the download of the RHEL 9 is underway.
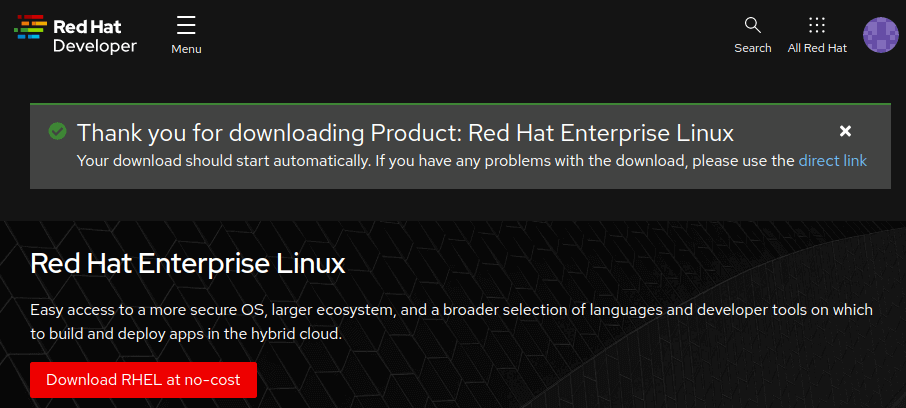
The download size of the ISO image is about 8GB. As such, ensure that you have a high-speed internet connection for a faster download.
How to Install RHEL 9 for Free
With the ISO image downloaded, grab a 16 GB USB drive and create a bootable USB drive using applications such as UnetBootIn or Balena Etcher to make it bootable.
With your bootable medium at hand, plug it into the PC that you wish to install RHEL 9 on and reboot the system. Remember to configure the BIOS to have the bootable medium first in the boot priority so that the system boots into the medium first. Also, ensure that you have a high-speed internet connection that will come in handy during the installation.
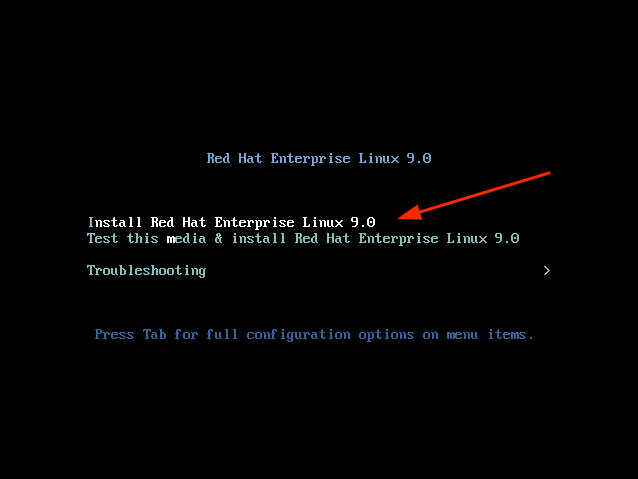
Step 1: Start RHEL 9 Installation
When the system reboots, you will get a black screen with the following options. To begin the installation, press ENTER on the first option ‘Install Red Hat Enterprise Linux 9.0’.
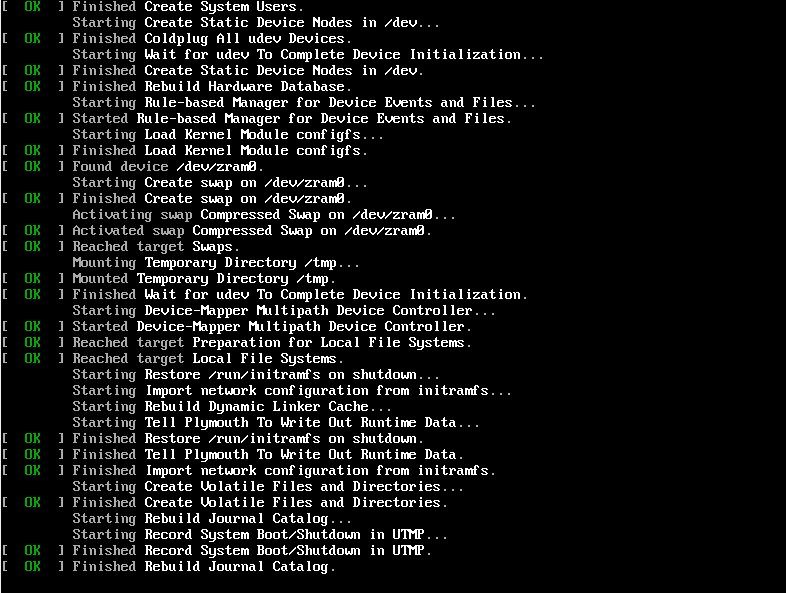
Shortly afterward, the following boot messages will be splashed on the screen. No action will be required so, just patiently wait as the installer gets ready to install RHEL.
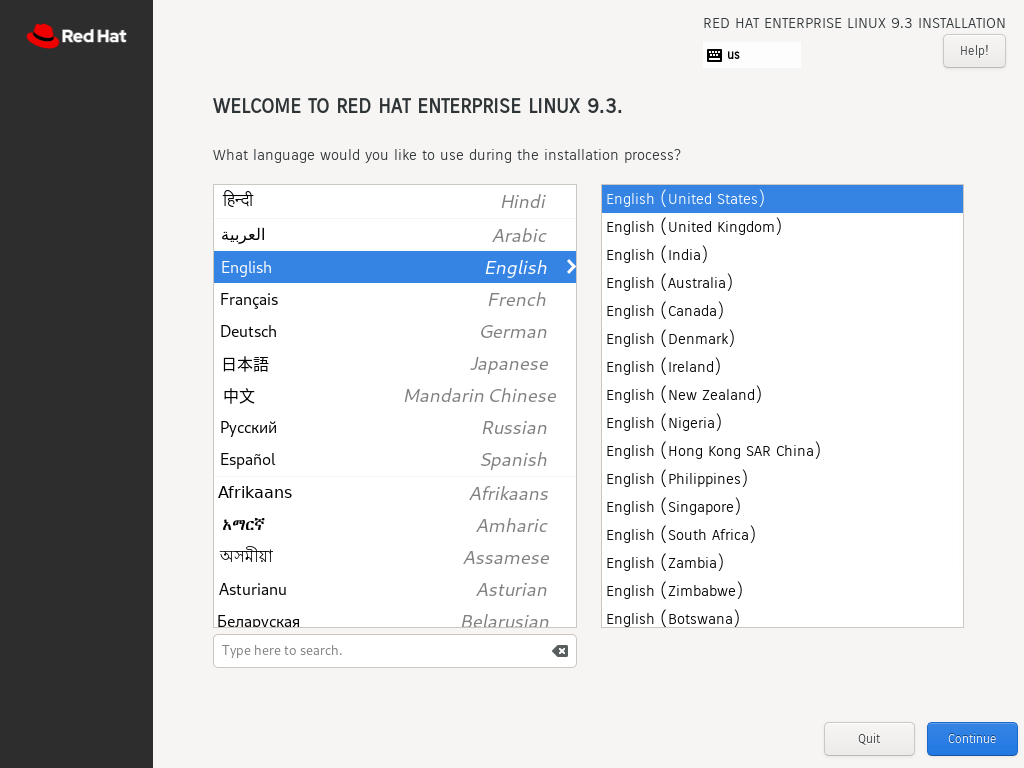
After a few seconds, the graphical wizard for installing Red Hat Enterprise Linux 9.0. In the first step, select your preferred language and click ‘Continue’.
Step 2: Configure Partitioning
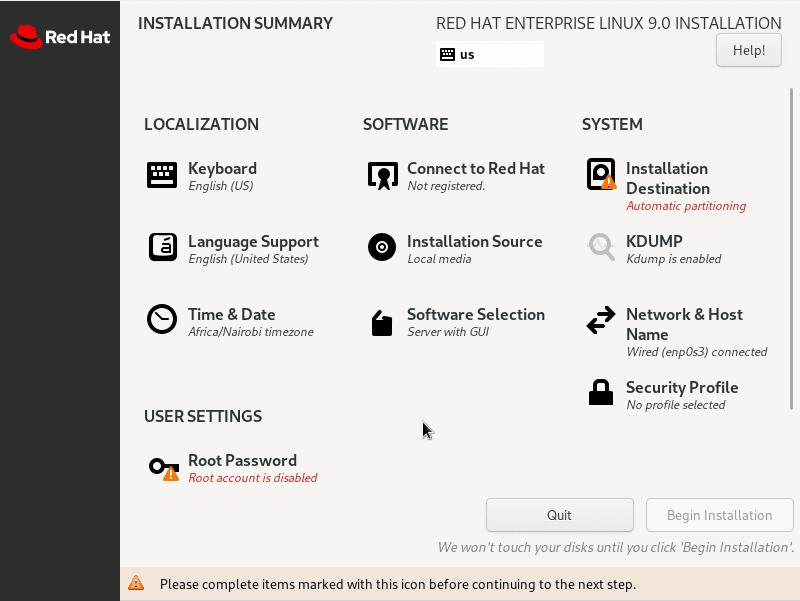
The next step presents you with an installation summary that is segmented into four sections:
- LOCALIZATION
- SOFTWARE
- SYSTEM
- USER SETTINGS
We will only focus on three items that are mandatory before proceeding with the installation – Installation Destination, Root Account, and Regular Account creation.
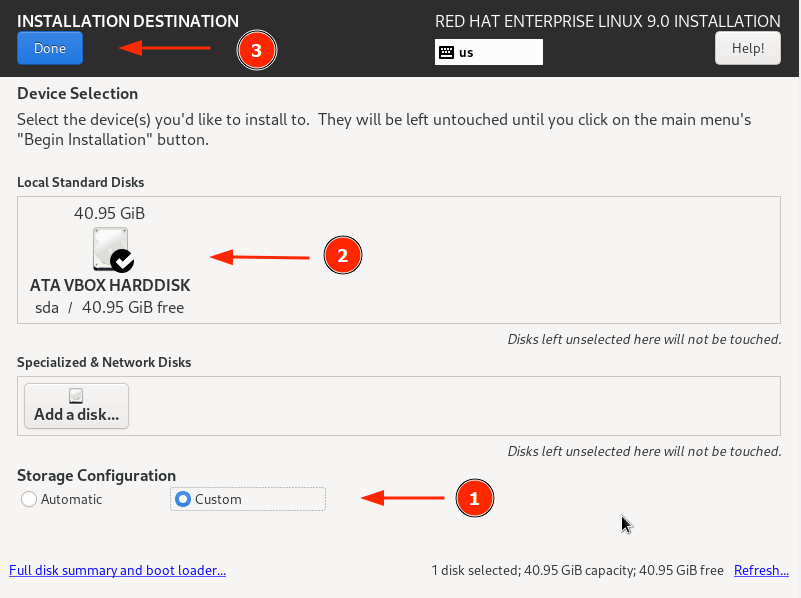
To set up partitioning, click on ‘Installation Destination’ under SYSTEM. On the ‘Installation Destination’ page, ensure that you have selected the ‘Automatic’ option if you wish the wizard to automatically partition the hard drive. Otherwise, select ‘Custom’ to manually create the partitions.
In addition, ensure that you have selected the hard disk on your PC. Then click ‘Done’.
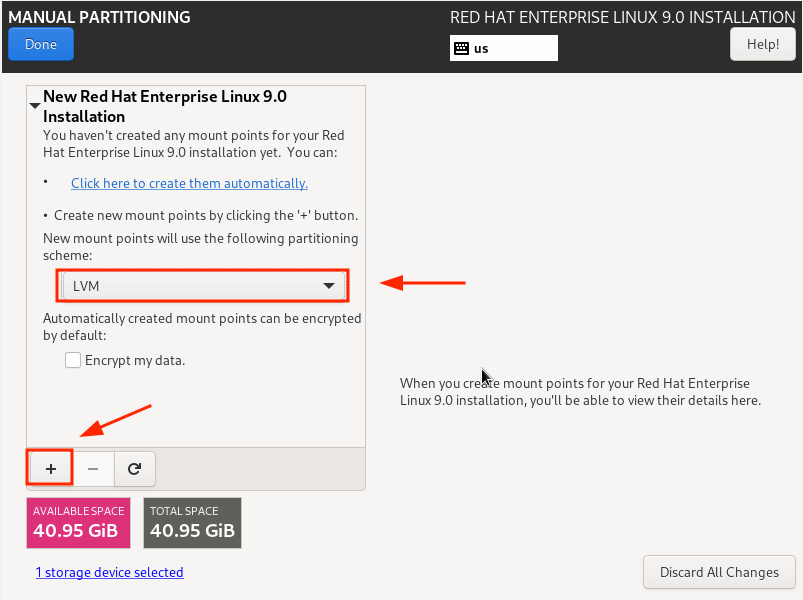
This takes you to the ‘Manual Partitioning’ window. By default, the LVM partitioning scheme is selected, which is just fine.
To start creating the partitions, click on the plus [ + ] sign.
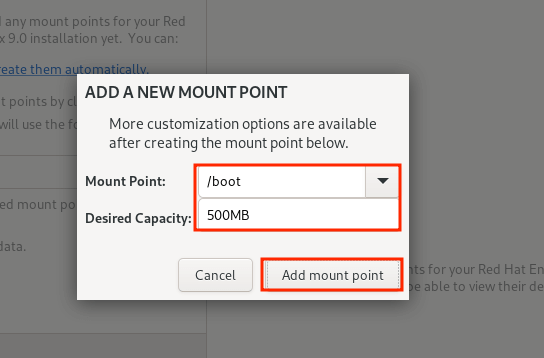
For demonstration purposes, we will create the following partitions.
First, we will specify the boot option.
From the partition table below, you can see that the boot partition has been created.
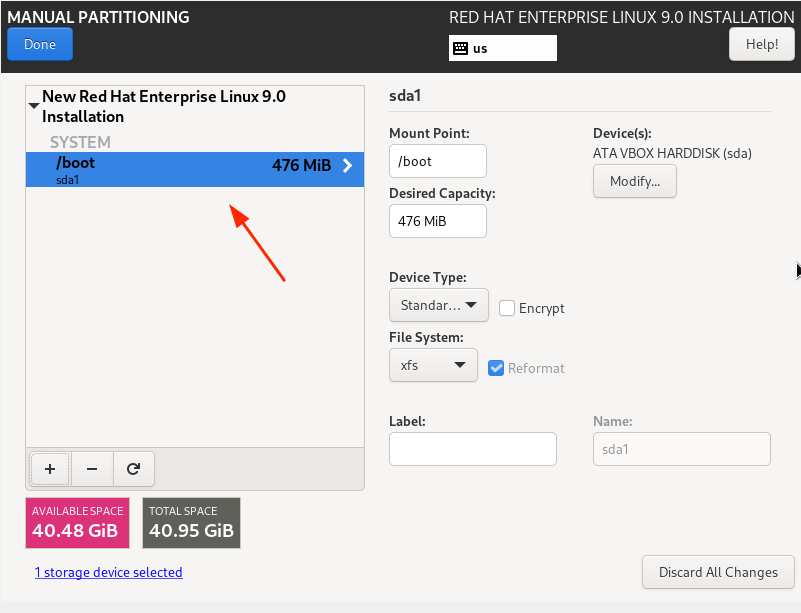
Repeat the same steps and create the /home, /root, and swap mount points.
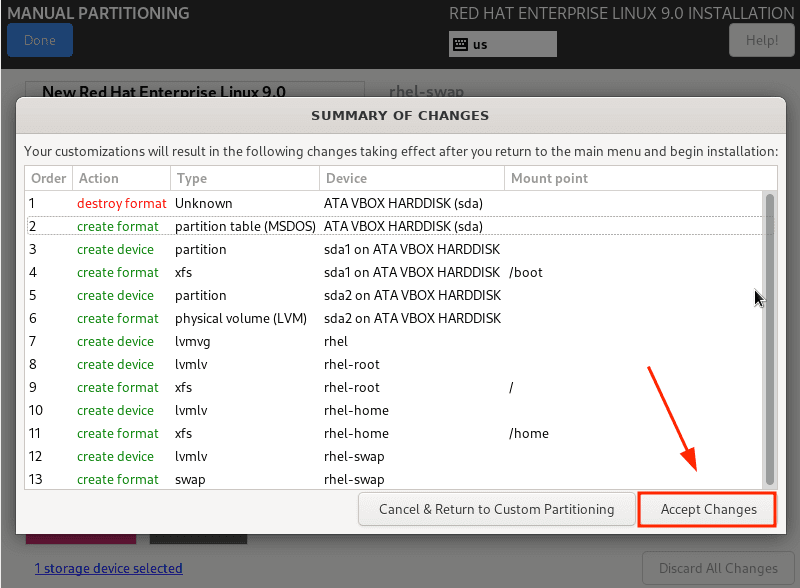
Our complete partition table is shown below. To save the changes, click on ‘Done’.
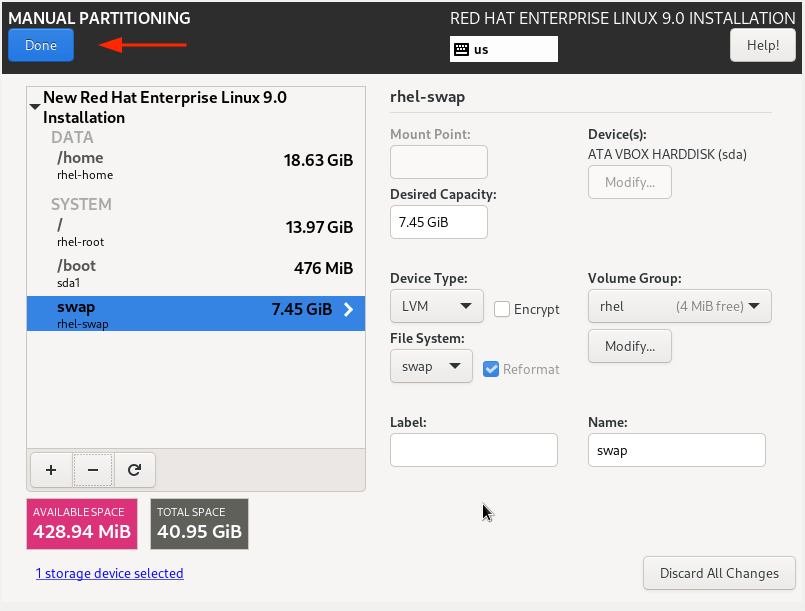
Then click ‘Accept Changes’ on the pop-up that appears.
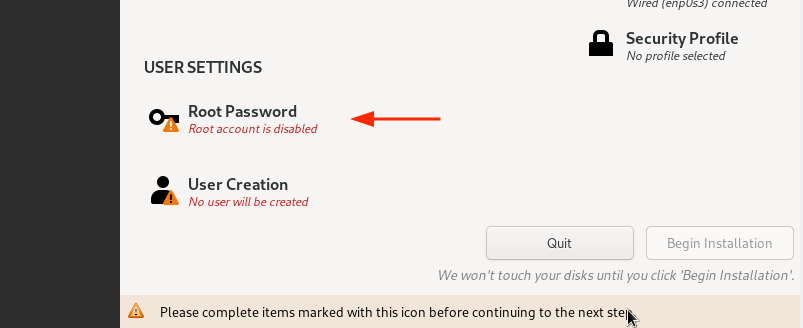
Step 3: Configure User Settings
Next, we are going to configure user settings, starting off with the Root password. So, click on the ‘Root Password’ icon.
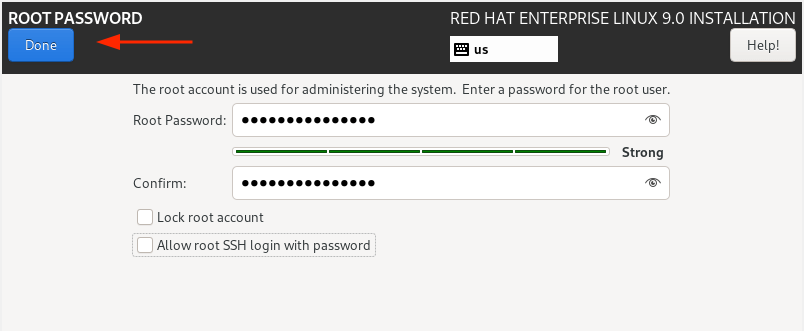
Unlock the Root account by providing a root password and confirming it. Then click ‘Done’.
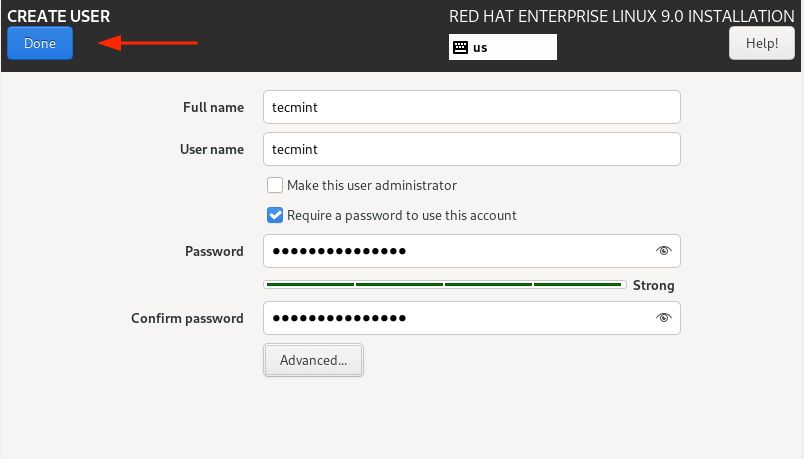
Next, create a regular login user by clicking on ‘User creation’.
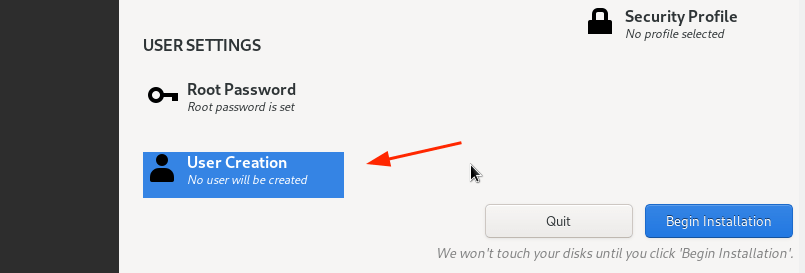
Provide the username and password details of the user and click ‘Done’.
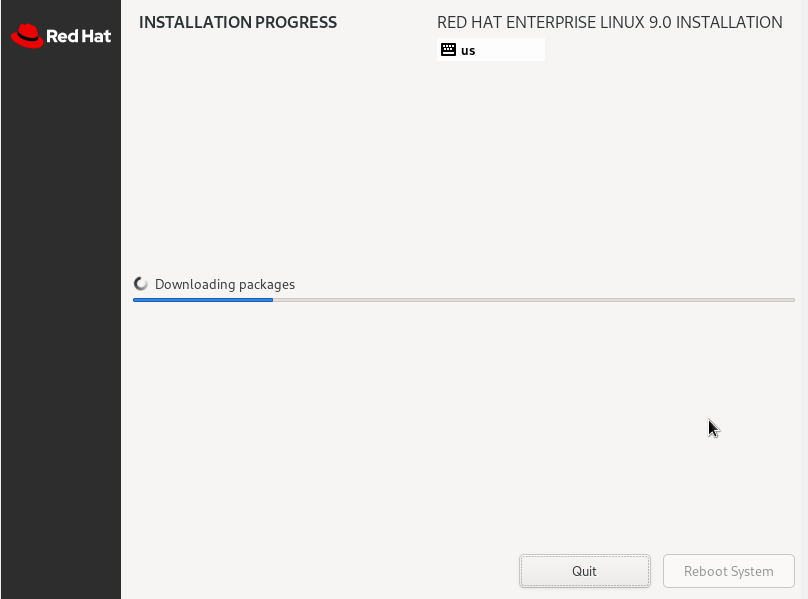
We are now all set to proceed with the installation. So, click on ‘Begin Installation’.

The Wizard will download all the required packages from the RedHat ISO image and save them to the hard drive. This is a process that takes quite a bit of time, and this is an ideal moment to take a break as the installation progresses.
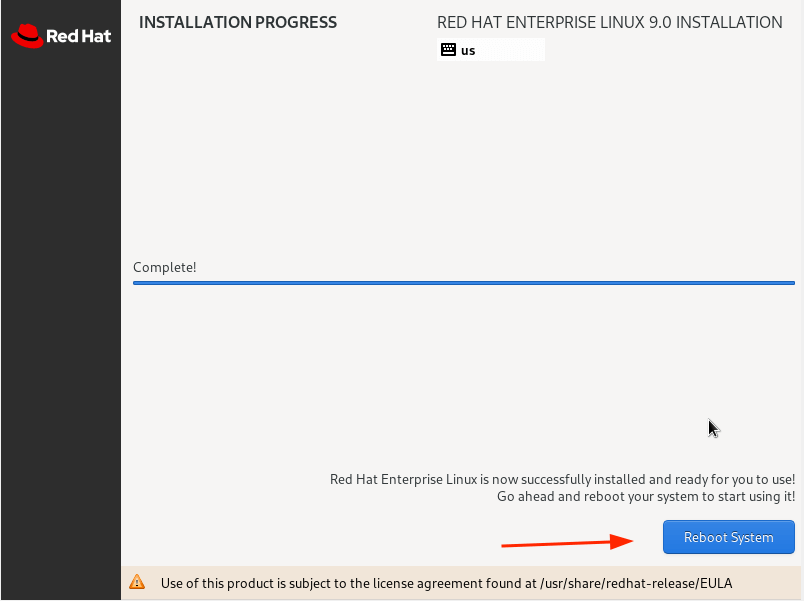
Once the installation is complete, you will be required to reboot your system so that you can log in to your fresh RHEL 9 installation.
So, click the ‘Reboot System’ button.
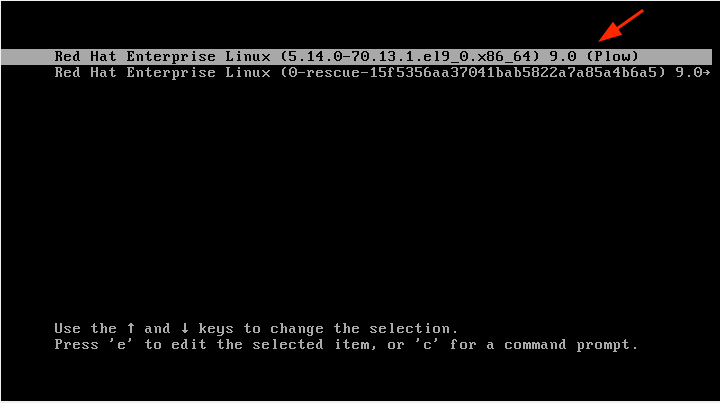
Step 4: Boot Into Red Hat Enterprise Linux 9
Once the system reboots, select the first entry on the GRUB menu that points to Red Hat Enterprise Linux 9.0.
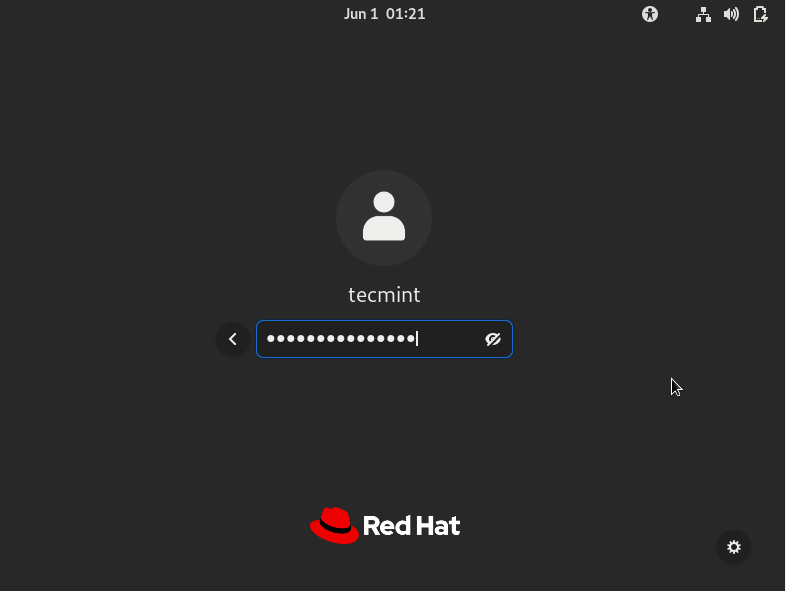
Shortly afterward, provide your password on the login screen and press ENTER.
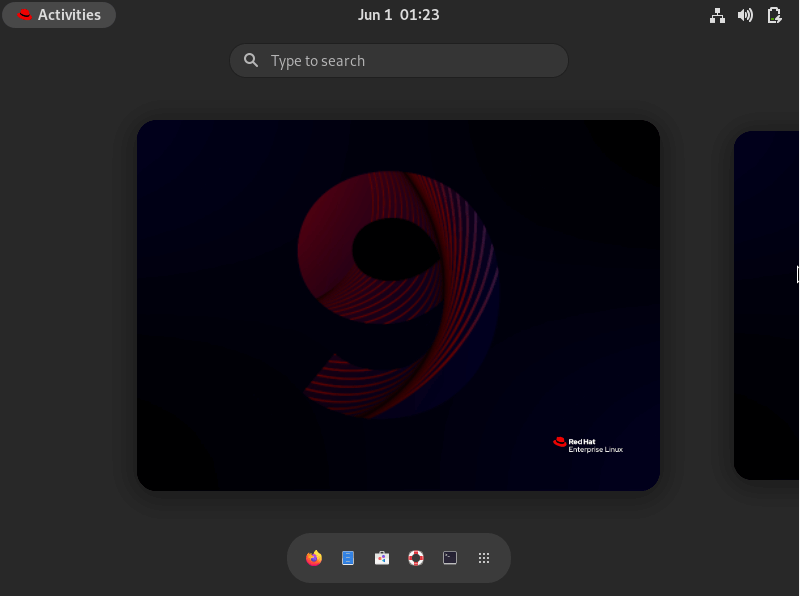
Once logged in, you can opt to take a tour of the freshly installed RHEL 9 or decline and go straight to the Desktop.

Finally, you will see the GNOME 42 desktop environment which has received a facelift and looks quite elegant.
Step 5: Enable Red Hat Subscription on RHEL 9
Once you have installed RHEL 9, finally, register your RHEL subscription by running the following command on the terminal. The username and password are the login details to your Red Hat account.
To confirm that the system is registered to RHSM (Red Hat Subscription Management), run the command:
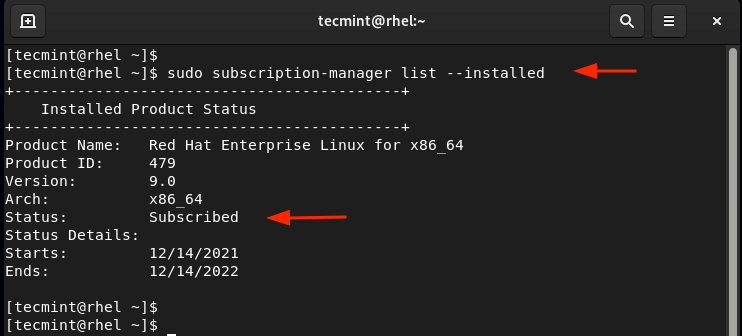
From here, you can now enjoy all the goodies from Red Hat including the latest software packages, security updates, and bug fixes.
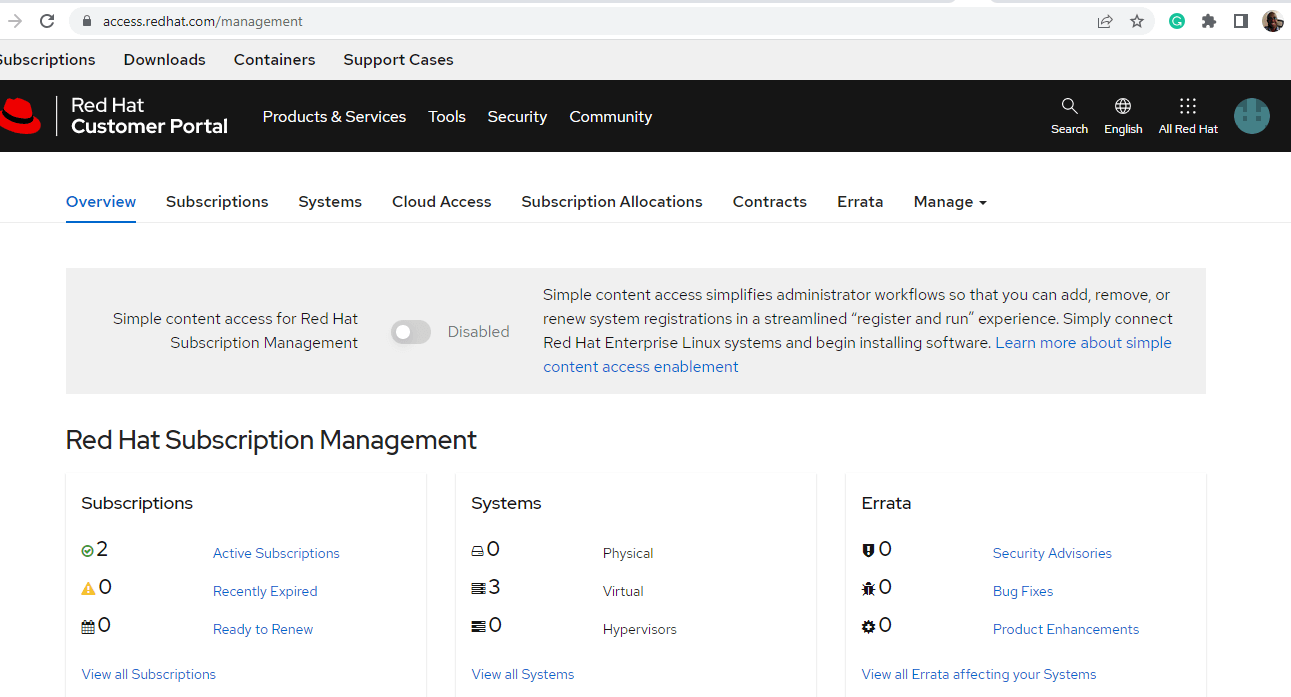
NOTE: You can always check the details of your No-Cost RHEL subscription by visiting the Red Hat Subscription Management Portal.
This draws the tutorial to a close. We hope that you can comfortably download and install RHEL 9 for free without any issues and later register it for a No-cost RHEL subscription to derive the full benefits of Red Hat Enterprise Linux.
- Step 1: Start RHEL 9 Installation. ...
- Step 2: Configure Partitioning. ...
- Step 3: Configure User Settings. ...
- Step 4: Boot Into Red Hat Enterprise Linux 9. ...
- Step 5: Enable Red Hat Subscription on RHEL 9.


