How to install teamviewer on ubuntu & linux mint 20
TeamViewer is an application that lets you access other computers remotely so you can modify, maintain, or manage them wherever you are, as though you were actually there.
Better yet, the app works with all major platforms: Windows, macOS, and Linux (also in limited forms on iOS and Android too). You can use TeamViewer to transfer files to/from a remote computer and host; chat in real time with its users; sync clipboard contents, and more.
TeamViewer is also simple to use: you install the app on both computers, then connect using the unique ID and password the app generates. While this tool’s core feature set is skewed more towards IT professionals, support agents, and developers it is free to use for personal use (and ideal for helping a frustrated relative).
In this post I show you how to install Team Viewer on Ubuntu 20.04 LTS and above. You can follow the same steps to install TeamViewer on Linux Mint, Zorin OS, and pretty much ant other Ubuntu-based Linux distribution out there.
Note: I do not look at reasons why you may want to use TeamViewer versus any alternative (there are plenty of articles that compare the tool, so give it a Google). The focus on this post is just how to install TeamViewer on Ubuntu, Linux Mint, and related distributions, and keep it updated.
Install TeamViewer on Ubuntu
As mentioned, you can download and install TeamViewer for Windows, macOS, and Linux (and mobile clients for Android and iOS are also available) from the app’s official website.
Go to the TeamViewer Linux download page in your favourite web browser and download the .deb installer listed for Ubuntu users (note: .rpm and binary versions are also available to download but this guide does not cover using those versions).
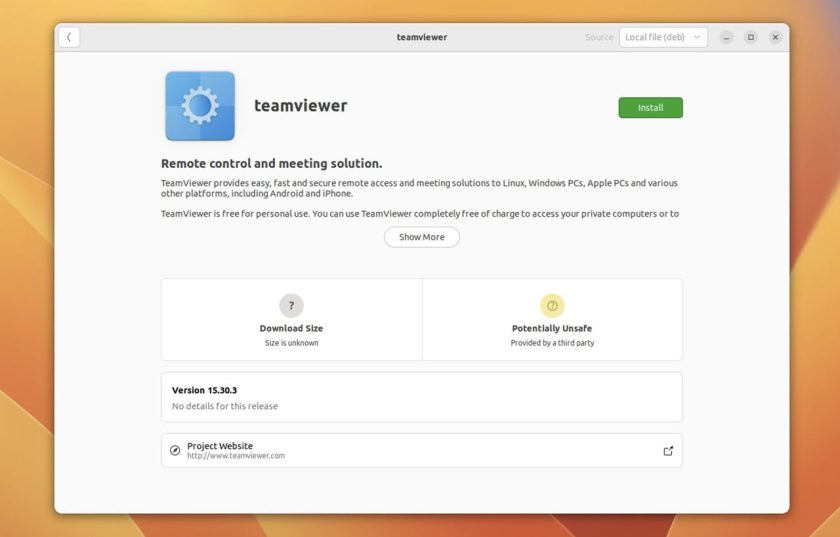
After the TeamViewer download completes — it’s around 60MB in size — double-click on the .deb to trigger installation through the Ubuntu Software app (or a similarly compatible packaging tool on a different distro):
If you want to save time you can choose to download TeamViewer’s Linux release using the command line.
To do this, run the following command as-is in a new Terminal window:
wget -c https://download.teamviewer.com/download/linux/teamviewer_amd64.deb
Then, to install (assuming you’re in same directory you downloaded the installer above from) run:
sudo apt install ./teamviewer_amd64.deb
This should take care of the whole process.
Regardless of which method you choose to install TeamViewer on Ubuntu installing the .deb will add the official TeamViewer Linux repo to your system’s list of software sources. This will allow you to get future updates to the tool alongside the rest of your system and app updates.
All that’s left is to launch TeamViewer and, depending on your needs, create an account/sign-in or use it as-is.
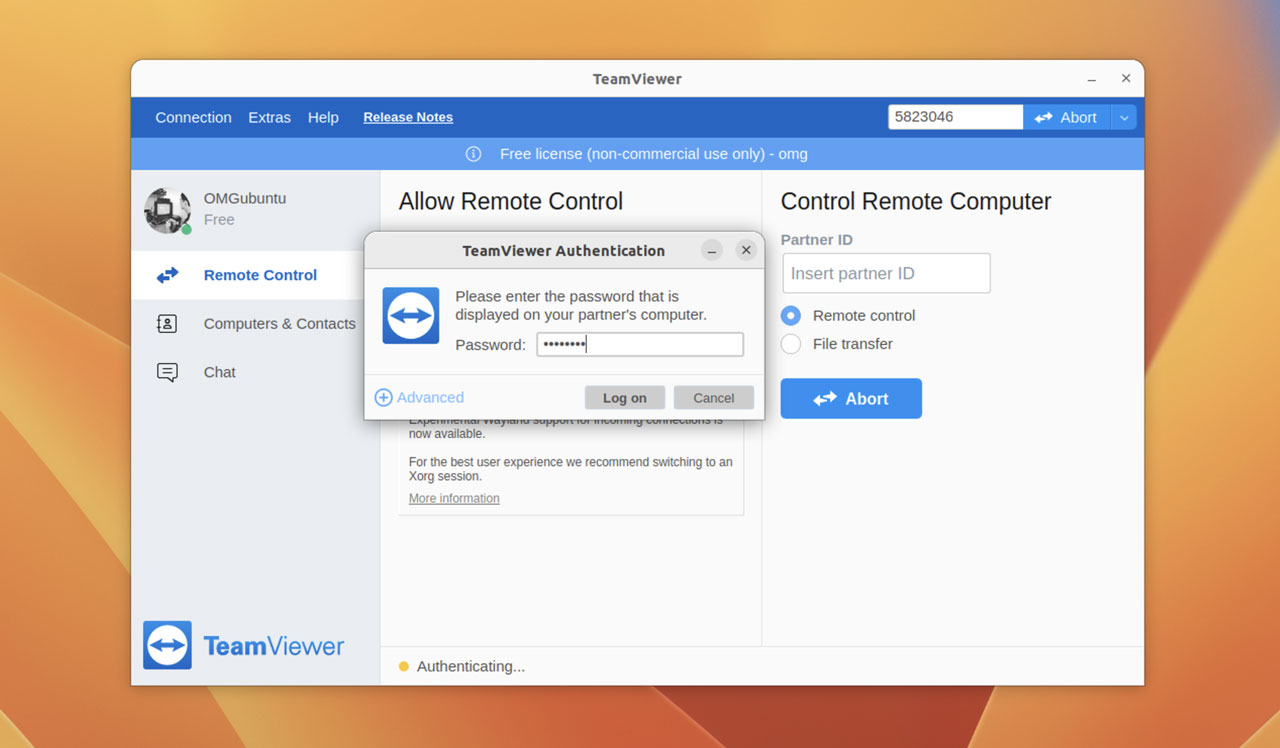
Connecting couldn’t be easier (and Windows and macOS hosts can run their versions in a one-time only mode that doesn’t require an account). Enter the ID from the Team Viewer app running on the remote system into the “Control Remote Computer” field in your TeamViewer app and enter the associated password when prompted:

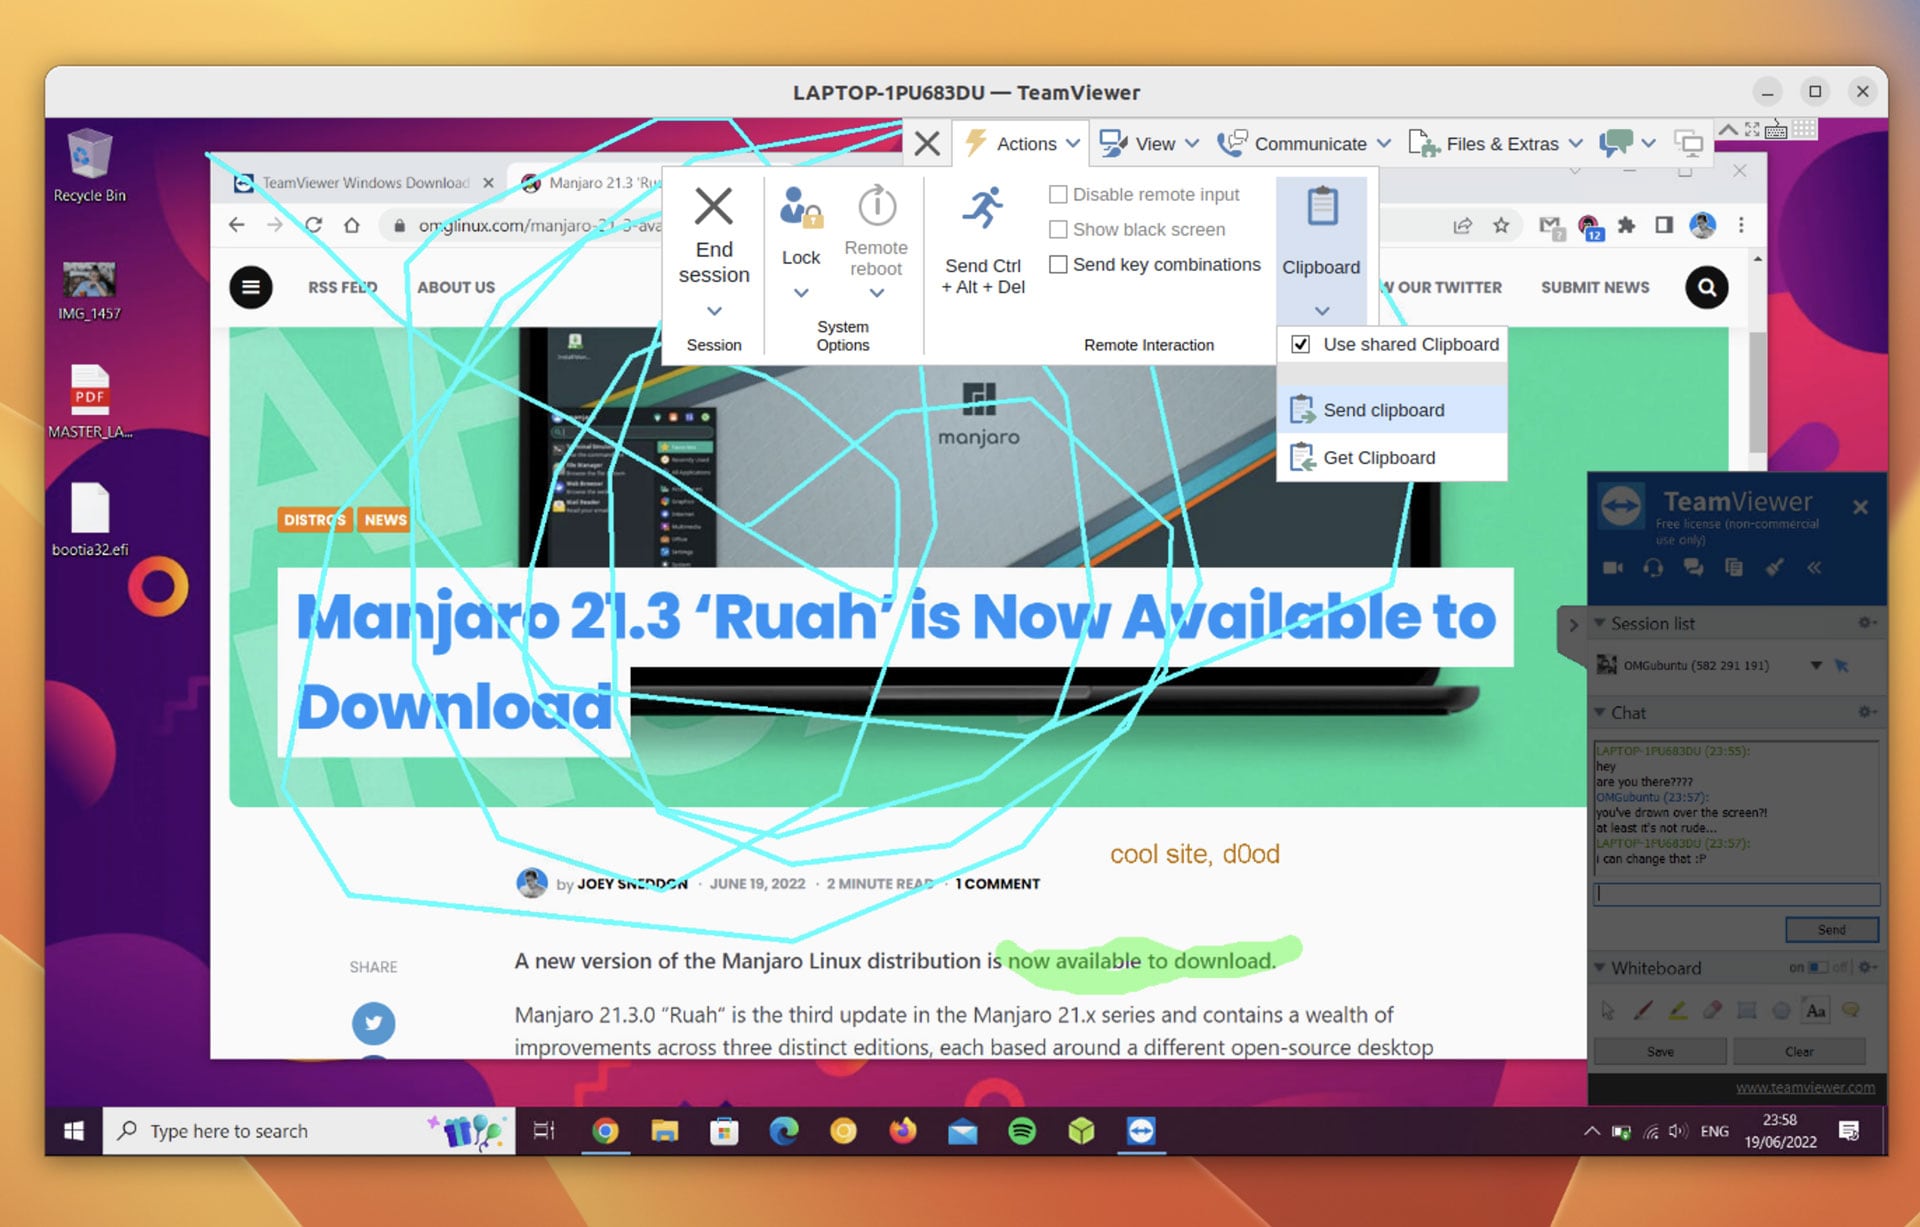
The app will then authorise the connection and, ta-dah, a Remote Desktop on your Ubuntu desktop:
There are a ton of settings you can play with at your own leisure, though some options will be platform-specific.
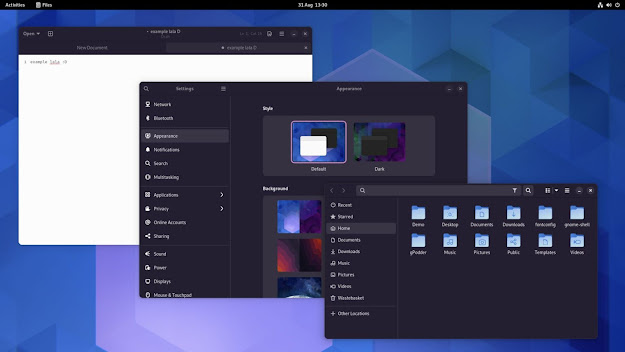
Although TeamViewer now has experimental Wayland support (Ubuntu’s default display server) you may find that some features work best/better in a Xorg session. You can choose which session you use at the Ubuntu login screen, by clicking the cog icon in the lower-right corner.
While TeamViewer is free to use it is not open-source software. Additionally, while most features are available to use with a free non-commercial account there may be advanced features (like multi-user support) that require a paid plan.


