How to Install Visual Studio Code on Ubuntu 20.04 & Above
Microsoft’s Visual Studio Code is a powerful and popular open source code editor. In this post I show you how to install VSCode on Ubuntu 20.04 LTS (or above).
Visual Studio Code is available for Windows, macOS, and Linux. The cross-platform support is a big part of this editor’s appeal, as it means developers don’t need to switch tools or learn new UIs when switching between platforms.
Virtually all of VSCode features are available to all users, regardless of the OS they use it on. Features like debugging, syntax highlighting, intelligent auto completion, embedded Git control, and even an integrated terminal, are enabled in all builds.
This popular text editor also has broad language support, including JavaScript, TypeScript, and Node.js. A rich set of extensions are available for other languages, like C++, C#, Java, Python, PHP, and Go, as well as runtimes like .NET and Unity.
In this guide you’ll see two ways of installing Visual Studio Code on Ubuntu 20.04 LTS, using the official Snap package on the Snapcraft store, or by downloading VSCode’s .deb package from Microsoft directly.
Whatever way you choose to install it is up you as you still get the same version of the app, with all of the same features.
Install Visual Studio Code (Snap Package)
Microsoft provide an official Visual Studio Code Snap package on Canonical’s Snapcraft Store.
What are Snaps? They are self-contained software packages that include the binary all dependencies needed to run the application. Snap packages are easy to upgrade and secure. You can install Snap packages using the Ubuntu Software application, or by diving into the command line.
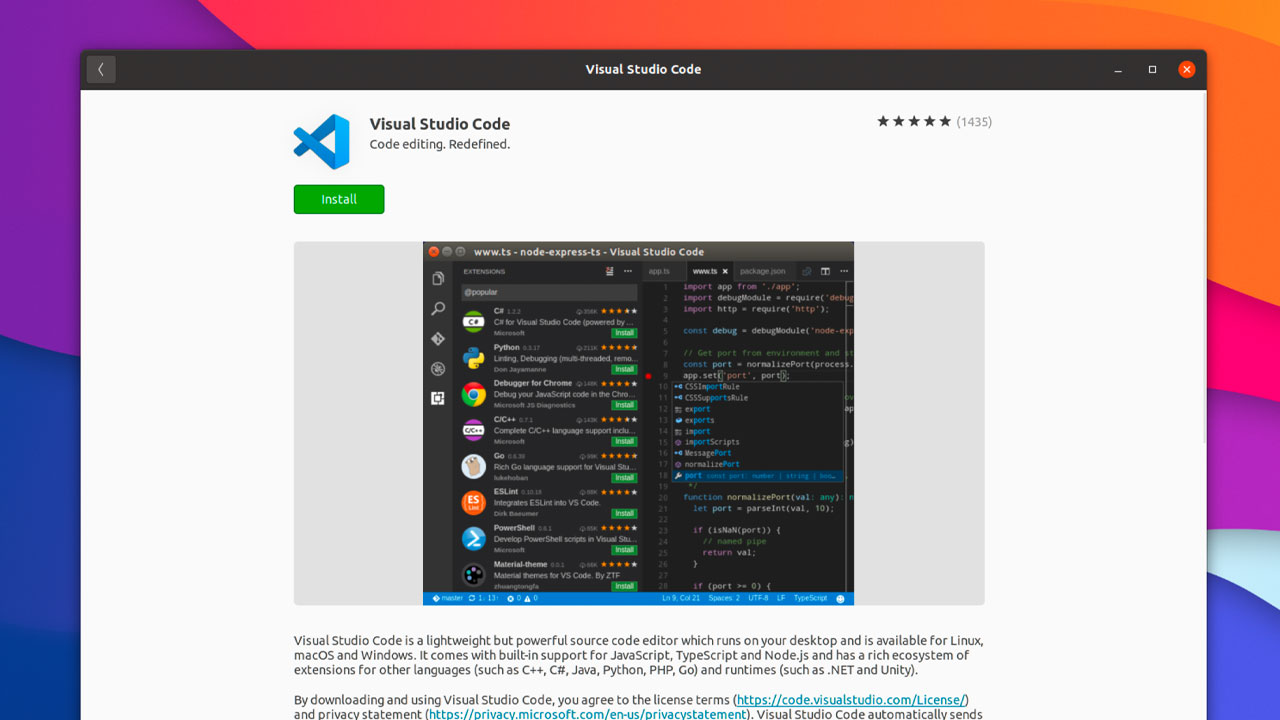
To install the VS Code snap you can click this button:
Or open the Ubuntu Software app and search for “Visual Studio Code” by name.
Alternatively, if you’re more comfortable at the command line, pop open your preferred terminal emulator (Ctrl + Alt + T) and run this command:
sudo snap install code --classic
That’s all you need to do to get Visual Studio Code installed on your system.
What about future updates? No worries there either, as new versions of Visual Studio Code are automatically downloaded and installed in the background, as you use your computer.
Install Visual Studio Code (deb Package)
Microsoft maintain an apt repository for Linux users to install Visual Studio Code from.
You can add the Visual Studio Code apt repository by hand using the command line. But a quicker way to get it set-up on your system is to download and install the VSCode Linux package from the application’s website. As part of the install process the apt repository gets added to your list of Software Sources.
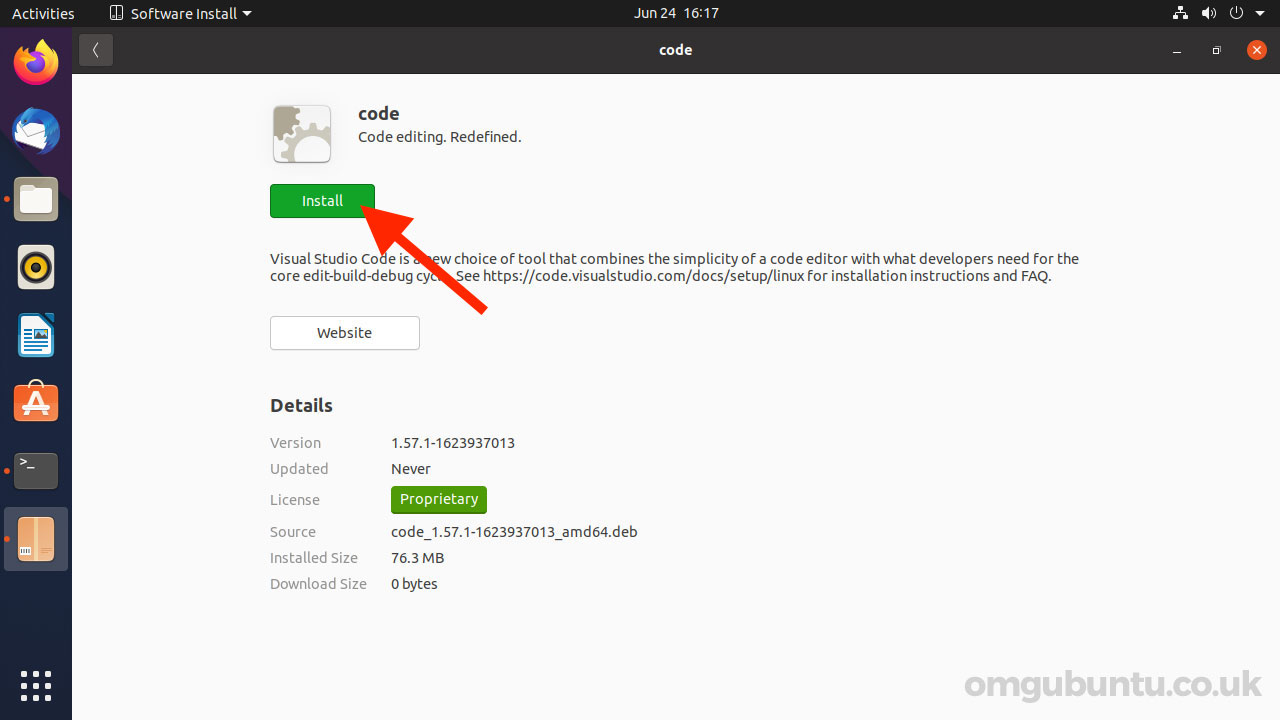
Once the download completes go to your Downloads folder (or the location you chose to save the installer) and double-click on the .deb file. Ubuntu Software will open. Click the ‘install’ button.
When a new version is released you can update the Visual Studio Code package (alongside any other updates you have) using Ubuntu’s Software Updater tool.
Bonus: Install Visual Studio Code (Flatpak)
If you have Flatpak (and more important Flathub) set-up on your system you can install the VSCode Flatpak package from Flathub.
Ubuntu does not support Flatpak out-of-the-box (we have a guide showing how to install Flatpak on Ubuntu) and for GUI installation you will need to install the gnome-software package as well.
This Visual Studio Code Flatpak is not maintained by Microsoft.
Using Visual Studio Code
To open VSCode on Ubuntu just click the ‘Applications’ icon at the base of the Ubuntu Dock (or hit the super key). In the search bar start to type “Visual Studio Cord” and, when the app icon appears, click on the icon to ope the application.
To open the app from the command line just run code.
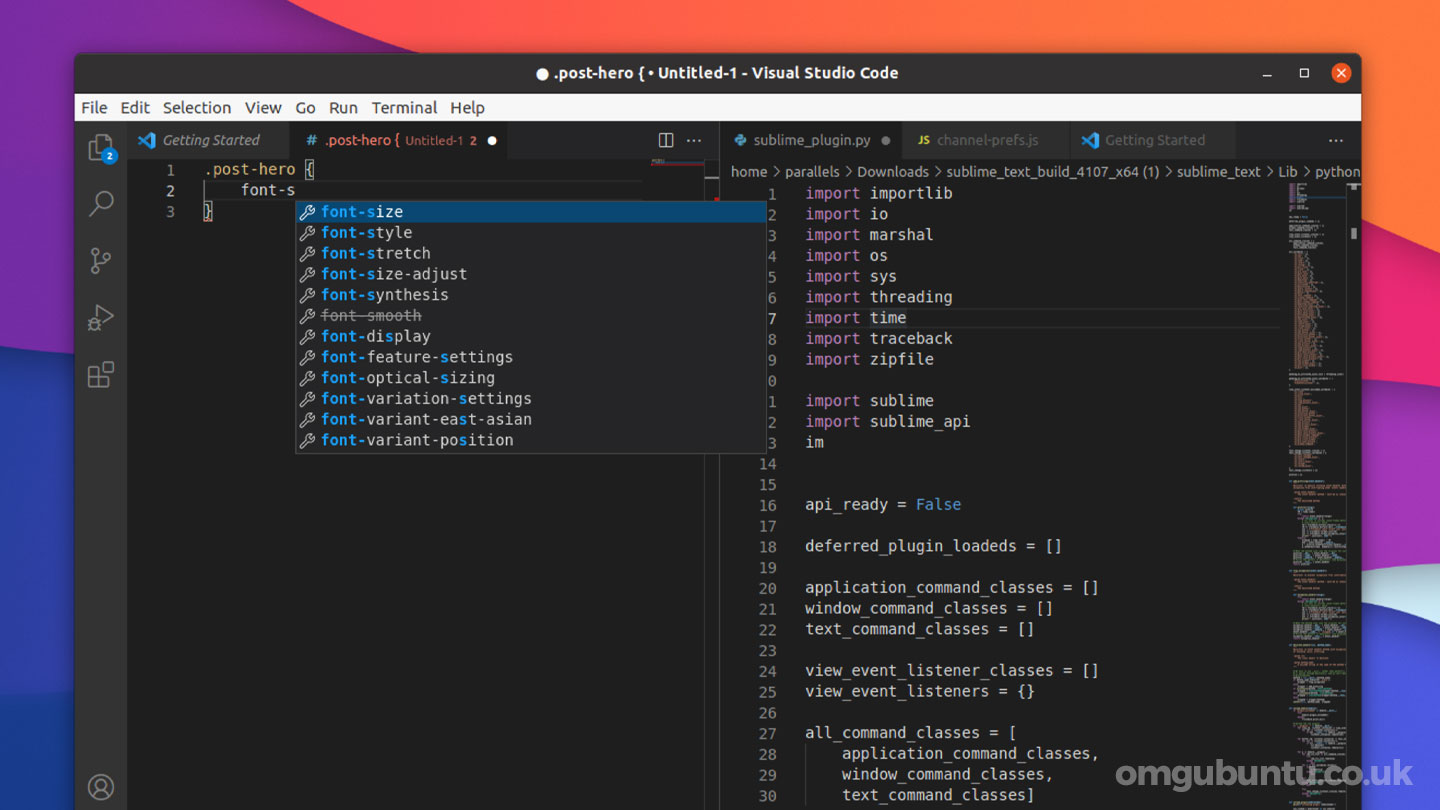
You’re then free to install VSCode extensions, customise the UI, and playing around with the broad feature set provided. To enable the ‘dual pane’ mode in our screenshot click the “[|]” icon near the tab bar.
Conclusion
There you have it; you know how to install VS Code on Ubuntu 20.04 LTS. This guide also works for many of Ubuntu’s official flavours, as well as spins and other derivatives, including Linux Mint.
For more detail about VS Code I recommend visiting the documentation site Microsoft has created. It is crammed to the hilt with tips and ideas on getting the most out of the editor. You may want to check out VSCode on GitHub too, which is where you can file bug reports.